
Let’s be real for a second. Is there a dessert more nostalgic than Rice Krispie Treats? You probably have a distinct memory of peeling back that blue foil wrapper or watching a parent stir a sticky pot of marshmallows on the stove. But here is the tragic truth: most homemade versions are disappointing. They turn out rock-hard, scrape the roof of your mouth, and taste vaguely of stale cardboard.
If you have ever bitten into a treat that threatened to crack a molar, I feel your pain. I used to think the recipe on the back of the cereal box was the holy grail. I was wrong.
We are going to fix that today. We aren’t just making cereal bars; we are engineering the ultimate Rice Krispie Treats. I’m talking about thick, gooey, buttery squares that stretch when you pull them apart. You don’t need an oven, you don’t need fancy equipment, and you definitely don’t need a culinary degree. You just need to ignore the box instructions and follow my lead.
The Problem with the Original Recipe
Why do the classic recipes fail us? It usually comes down to ratios. The standard recipe calls for too much cereal and not enough “goo.” The result is a dry bar that dries out even faster once it cools.
To get that bakery-style texture, we need to flip the script. We need to increase the butter, increase the marshmallows, and treat the cereal with a little respect. IMO, a Rice Krispie Treat should bend before it breaks. It should feel heavy in your hand, not light like styrofoam.
Also, the original recipe lacks depth. It’s just sweet on sweet. We need to introduce a little complexity to wake up your taste buds.
The Secret Weapon: Brown Butter
If you want to take your treats from “meh” to “life-changing,” you must brown the butter. You might think this sounds like a fancy French technique reserved for chefs with tall hats, but it’s incredibly simple.
Browning butter just means cooking it a little longer until the milk solids toast. This creates a nutty, toffee-like aroma that pairs perfectly with the vanilla and sugar.
If you love the rich, caramelized depth in my chocolate chip cookies, you will obsess over what brown butter does here. It cuts the cloying sweetness of the marshmallows and adds a savory note that keeps you coming back for a second piece.
Ingredients That Matter
You only need a handful of ingredients, so quality counts. Don’t skimp here.
- Butter: Use salted butter. Yes, really. The salt balances the sugar. If you only have unsalted, you must add a hefty pinch of sea salt later.
- Marshmallows: freshness is non-negotiable. Do not use that bag that has been sitting in the back of your pantry since last summer. Those marshmallows are already stale; melting them won’t save them. Buy a fresh bag.
- Cereal: Stick to the name brand or a very high-quality generic. Some budget puffed rice cereals are too hard and don’t absorb the marshmallow mixture well.
- Vanilla Extract: A splash of real vanilla extract enhances the buttery flavor.
- Sea Salt: Even if you use salted butter, a sprinkle of flaky sea salt on top adds a gourmet finish.
Step-by-Step: The gooey Method
Ready to make the best no-bake dessert of your life? Let’s break it down.
1. Brown the Butter
Grab a large pot. Place your butter inside over medium heat. It will melt, then foam, then bubble. Watch it closely. You will start to smell a nutty aroma, and the milk solids at the bottom will turn a golden amber color.
Once you see those brown specks, turn the heat to low immediately. You don’t want to burn it; you just want to toast it.
2. Melt (Most of) the Marshmallows
Here is a pro tip: Save about 2 cups of mini marshmallows for later.
Dump the rest of the bag into the brown butter. Stir constantly with a rubber spatula. The marshmallows will break down and turn into a smooth, thick cream. Add your vanilla and salt now.
3. The “Off-Heat” Rule
Remove the pot from the heat. This is crucial. If you keep cooking the sugar mixture, it will reach the “hard crack” stage. That is how you end up with bricks instead of treats.
4. Fold, Don’t Crush
Pour your cereal into the pot. Now, add those reserved mini marshmallows you set aside earlier. Fold everything together gently.
Why the reserved marshmallows? They won’t melt completely. They will soften into little pockets of pure marshmallow goodness throughout the bar. It creates distinct textures rather than a uniform block.
Unlike a dense loaf of pumpkin bread where you might beat the batter, you must be gentle here. You want to coat the rice puffs, not crush them into dust.
The Pressing Technique
This is where 90% of people ruin their Rice Krispie Treats.
You dump the sticky mixture into a greased 9×9 pan. Your instinct tells you to pack it down tight to make it look neat. Stop! Do not do that.
If you compress the cereal, you remove all the air bubbles. You create a dense, hard slab. Instead, lightly press the mixture into the corners using a piece of buttered parchment paper or just your fingertips (wet them slightly with water to prevent sticking).
Think of it like packing a snowball, not paving a driveway. Use a gentle touch.
Variations to Try
Once you master the brown butter base, you can get creative.
- The Chocolate Lover: Stir in a handful of chocolate chips at the very end. Or, melt chocolate and spread it on top.
- The Peanut Butter Fan: Whisk ½ cup of creamy peanut butter into the melted marshmallow mixture before adding the cereal.
- The Seasonal Twist: Add a teaspoon of pumpkin pie spice or cinnamon for a fall version.
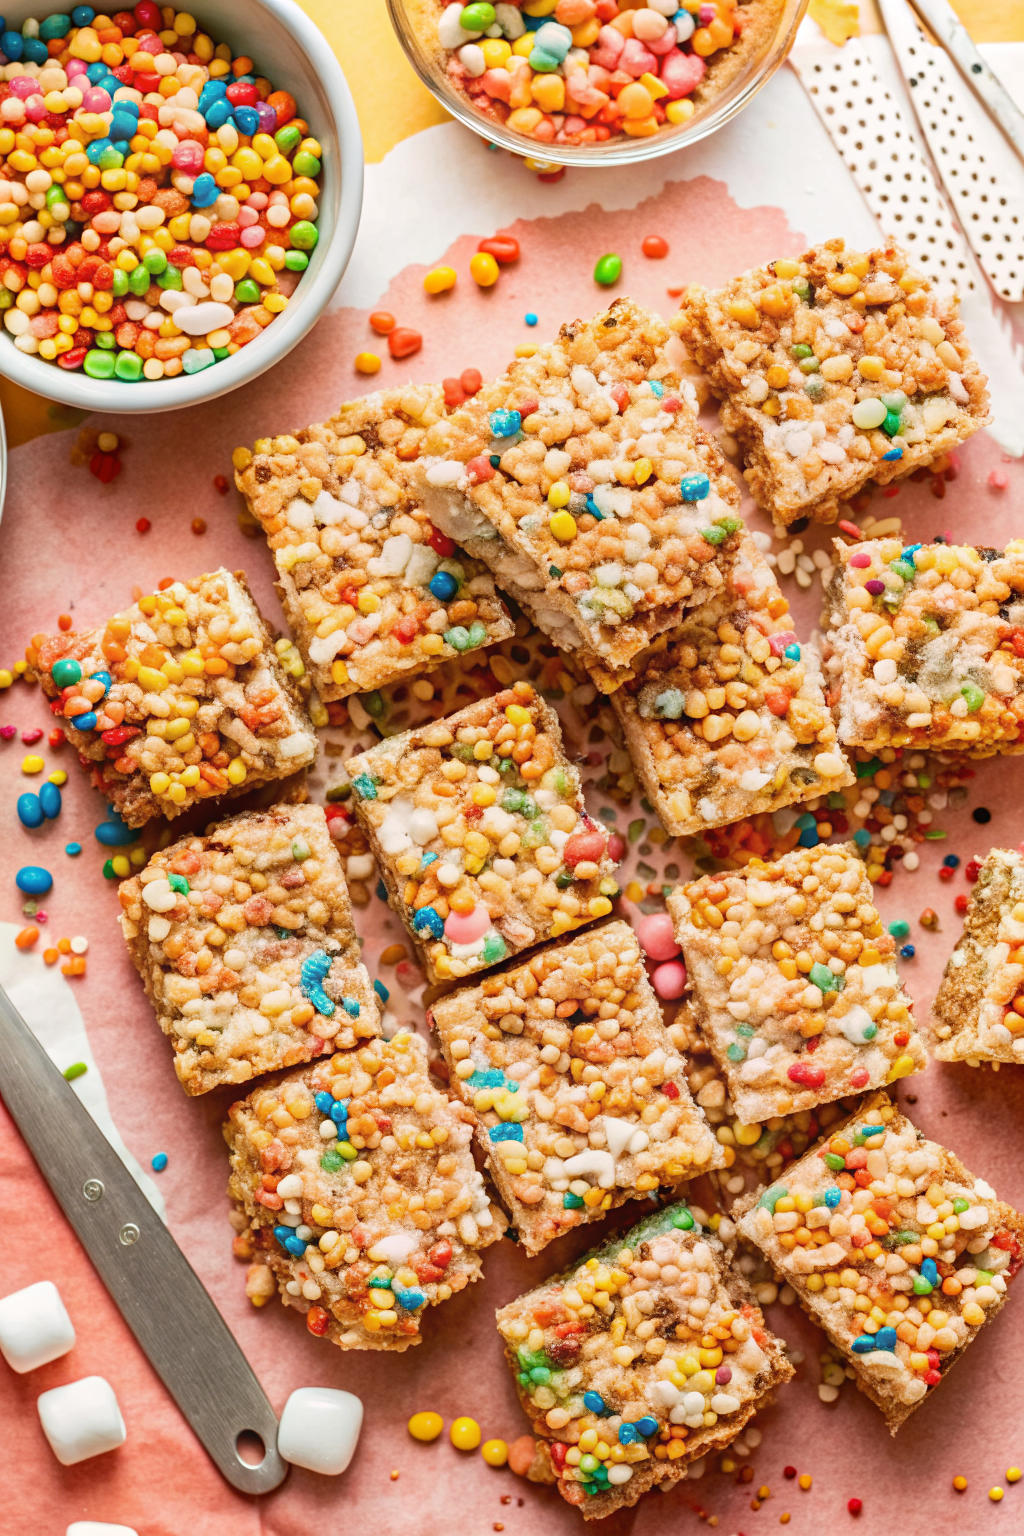
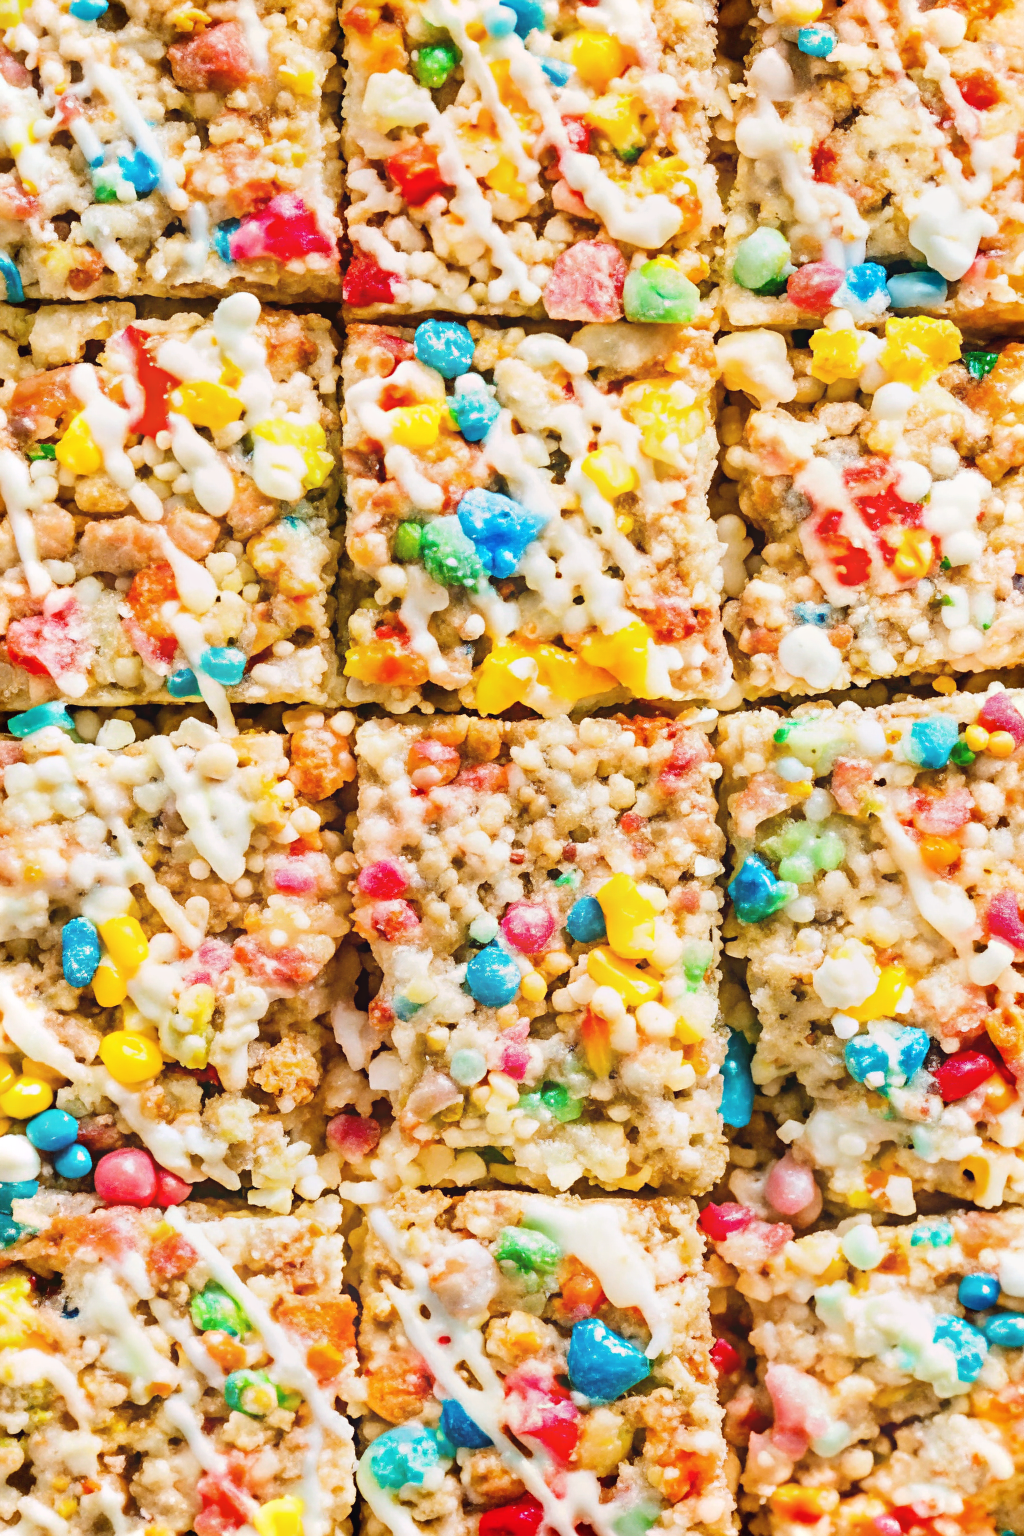
- The Cake Batter: Add a few tablespoons of dry yellow cake mix into the melted butter for a “birthday cake” flavor, then top with sprinkles. It tastes surprisingly like an easy vanilla cake in crunch form.
Troubleshooting Common Disasters
Even simple recipes have pitfalls. Let’s troubleshoot.
Why are my treats hard?
You probably cooked the marshmallow mixture too long or at too high a heat. Or, you packed them into the pan with the force of a hydraulic press. Next time, low heat and a gentle hand.
Why do they taste stale?
Check the expiration date on your cereal box. Rice cereal goes stale very quickly once opened. Always use a fresh box for the best results.
Why is it a sticky mess?
Did you measure the butter? If you add too much butter, the bars won’t hold their shape. They will just be a delicious, greasy spoon dessert. Stick to the ratios.
Storage: Keep Them Fresh
You finally made the perfect batch. How do you keep them that way?
First, do not put them in the refrigerator. The cold temperature hardens the sugar and butter, making the treats rock solid. It also dries out the cereal.
Store your Rice Krispie Treats in an airtight container at room temperature. They will stay soft and fresh for about 2 to 3 days. Ideally, you should wrap them individually in plastic wrap if you plan to keep them longer than 24 hours.
If you need to stack them, place a sheet of wax paper between the layers so they don’t fuse together into one giant mega-treat.
Exploring the Science
Ever wondered why marshmallows work as a binder? It’s all about gelatin and sugar structure. When you melt marshmallows, you break down their air structure, turning them back into a syrup. When they cool, the gelatin re-sets, acting as the glue.
However, heat is the enemy of gelatin. High heat destroys its elasticity. That is why we melt them slowly. For a deeper dive into how sugar behaves at different temperatures, check out this guide from Serious Eats. It explains why temperature control changes the texture of your final sweet.
Serving Suggestions
You can just cut them into squares and eat them. That’s the classic way. But if you want to be fancy?
- Cookie Cutters: Use greased cookie cutters to punch out shapes. Hearts for Valentine’s, stars for holidays.
- The Ice Cream Sandwich: Slice a square in half horizontally and stuff a scoop of vanilla ice cream in the middle. Freeze it for 20 minutes. You’re welcome.
- Dipped: Dip half of the square in dark chocolate and sprinkle with crushed nuts or freeze-dried strawberries.
Why This Recipe is Worth the “Effort”
I put “effort” in quotes because honestly, this takes 15 minutes. The extra step of browning the butter adds maybe 4 minutes to the process. But the payoff is huge.
When you bring these to a potluck or a party, people expect the boring, dry squares they know. When they bite into these—salty, nutty, gooey, and soft—their eyes light up. It’s a low-effort, high-reward situation.
I recently brought a batch of these to a dinner party. The host had made a complicated soufflé. Guess which dessert disappeared first? The Rice Krispie Treats. Sometimes, simple comfort food wins.
Final Thoughts
We often over complicate baking. We think we need layers and frostings and piping bags to make something delicious. But there is a reason this recipe has survived for generations. It hits every pleasure point: crunchy, chewy, sweet, and salty.
By tweaking the technique—browning the butter, adding salt, and keeping the texture loose—you elevate a childhood snack into a legitimate gourmet dessert.
So, go check your pantry. Do you have a box of cereal gathering dust? Do you have marshmallows? Grab that butter. You are fifteen minutes away from the best treat you’ve had all year.
Happy no-baking!
Best Rice Krispie Treats
Author: Prep: 5 minutes Cook: 10 minutes Total: 45 minutesEquipment
- Large Stockpot or Dutch Oven (The bigger, the better for mixing!)
- 9×9 inch Baking Pan
- Parchment paper
- Rubber spatula
Ingredients
The Base
- 225 g Salted Butter 1 cup / 2 sticks. If using unsalted, add ½ tsp flaky sea salt.
- 2 bags Mini Marshmallows 10 oz / 280g each. Divide this: You will use 1 bag + 1/2 of the second bag for melting, and save the rest for later.
- 2 tsp Pure Vanilla Extract
- 1 box Crispy Rice Cereal approx. 9 cups / 250g. Stick to the name brand for the best crunch!
- Flaky Sea Salt optional, for sprinkling on top
Instructions
- Prep the Pan: Line a 9×9 inch baking pan with parchment paper, leaving a little overhang on the sides to act as handles. Grease the paper lightly with butter or cooking spray.
- Brown the Butter: In your large pot, melt the salted butter over medium heat. Keep stirring. It will foam and bubble—this is normal! Watch for amber-colored specks to form at the bottom and a nutty, toasted smell to fill the air. Once browned, turn the heat to low immediately.
- Melt the Marshmallows: Reserve about 2 cups of mini marshmallows and set them aside. Pour the remaining marshmallows into the brown butter. Stir constantly until they are completely melted and smooth.
- Flavor It: Remove the pot from the heat. Stir in the vanilla extract (and extra salt if using unsalted butter).
- The Mix: Pour the rice cereal into the pot. Gently fold it in with a rubber spatula until coated. Now, add the reserved 2 cups of mini marshmallows and fold them in. These won’t melt fully, creating awesome gooey pockets in your Rice Krispie Treats.
- The Press: Dump the mixture into your prepared pan. Do not pack it down hard! Wet your fingertips slightly with water (or use a piece of buttered parchment) and gently press the mixture into the corners. Keeping it loose ensures the treats stay soft.
- Cool & Serve: Sprinkle with a little flaky sea salt if you feel fancy. Let the treats set at room temperature for about 30 minutes before lifting them out by the parchment handles and slicing into squares.
Notes
- Freshness Matters: Always use a fresh bag of marshmallows. Stale marshmallows result in hard treats.
- Storage: Store your Rice Krispie Treats in an airtight container at room temperature for up to 3 days. Never put them in the fridge, or they will turn rock hard!
- Pan Size: For thicker treats, use a 9×9 pan. If you prefer them thinner, you can use a 9×13 pan, but they won’t be as bakery-style tall.
- Sticky Situation: If the mixture is sticking to your spatula, spray the spatula with a little non-stick cooking spray before mixing.
Nutrition


