
Let’s be real for a moment. Most people hear “Divinity Candy” and picture their grandmother’s crystal candy dish, likely sitting on a lace doily. It feels old-fashioned, a bit mysterious, and frankly, a little intimidating. If you have ever tried to make it and ended up with a sticky, puddle-like mess, you probably swore off the stuff forever. I get it. Sugar work smells fear.
But here is the thing: when you get it right, Divinity Candy is absolute magic. It isn’t chewy like caramel, and it isn’t grainy like fudge. It is this bizarre, wonderful hybrid of a nougat, a marshmallow, and a cloud. It melts in your mouth in a way that makes the high sugar content worth every calorie.
Today, we are going to conquer this vintage confection. We will strip away the mystery, ignore the fearmongering, and get you a batch of stark white, pillowy mounds of sugar. Grab your candy thermometer and let’s do this.
What Exactly IS Divinity?
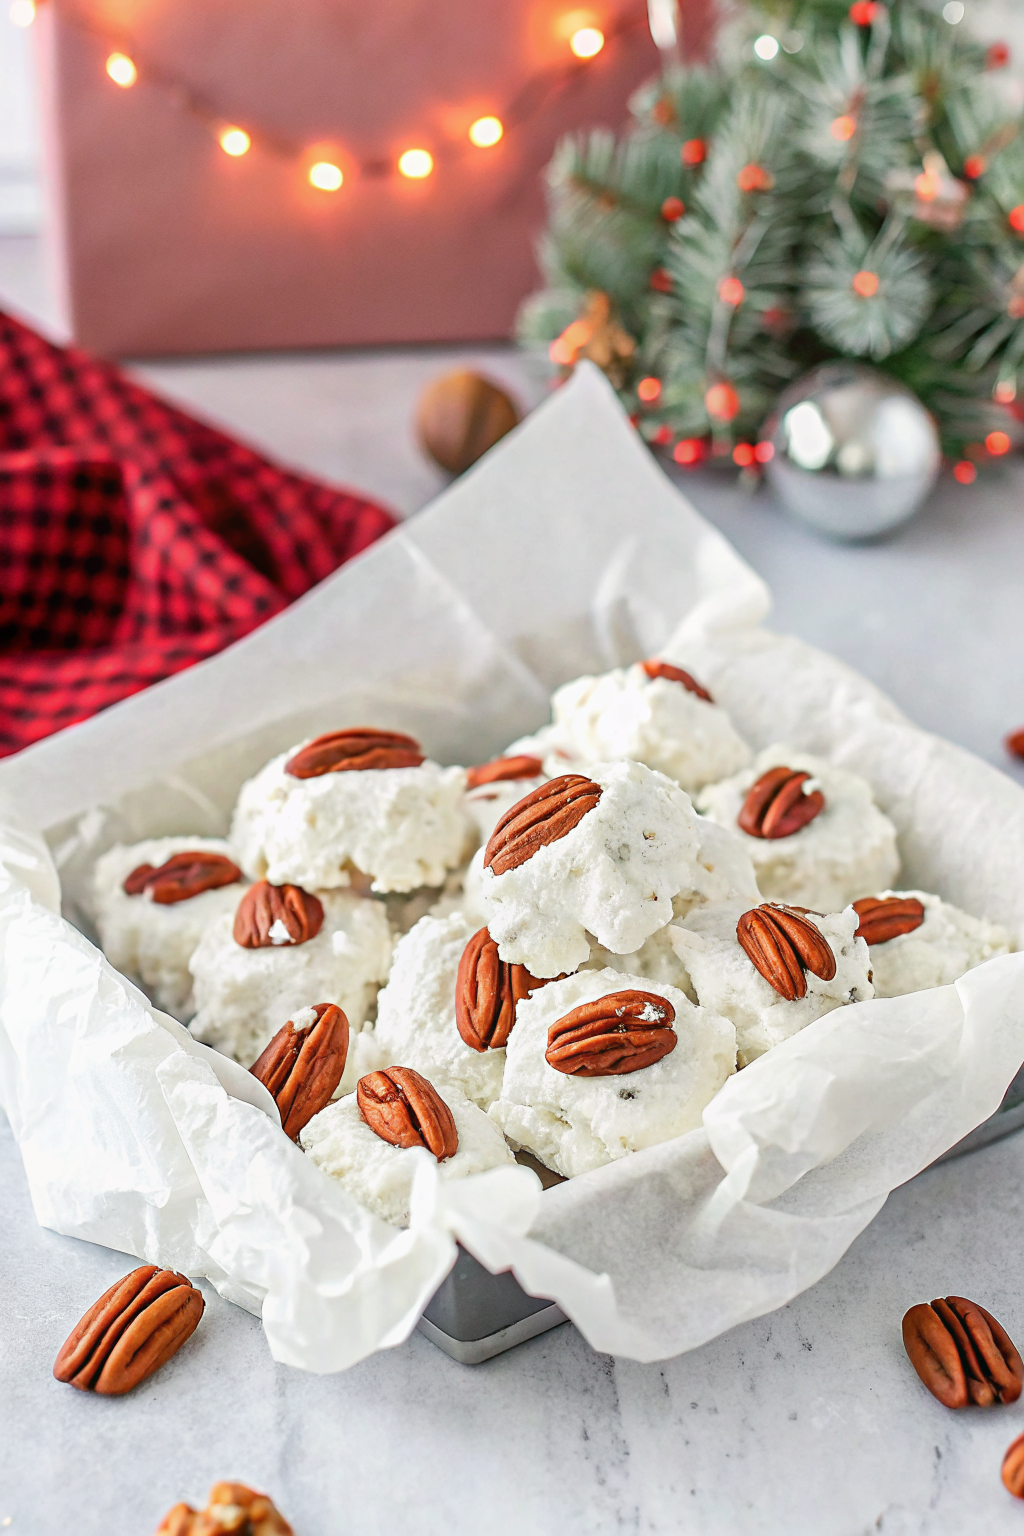
If you didn’t grow up in the Southern United States, you might not know what this is. Essentially, Divinity is a meringue-based candy. You make it by pouring hot sugar syrup into whipped egg whites and beating it until it loses its gloss and holds its shape.
Most people mix in chopped pecans (because the South loves pecans), but you can leave it plain. The texture defines it. It should be dry on the outside but soft and aerated on the inside.
Think of it as the high-maintenance cousin of the marshmallow. While marshmallows use gelatin for structure, Divinity relies entirely on the coagulation of egg whites and the crystallization of sugar. This makes it delicate. It also makes it delicious.
The Weather Report: Your Biggest Enemy
I cannot stress this enough: Check the weather before you start.
Sugar is hygroscopic. That is a fancy way of saying it absorbs moisture from the air. If it is raining, humid, or even just a bit muggy outside, your Divinity will struggle to set. It will stay sticky and sad. :/
The Golden Rule: Only make Divinity on a dry, sunny day.
If the humidity is above 50%, just bake some chocolate chip cookies instead. You will save yourself a lot of heartache and wasted sugar.
The Gear You Actually Need
You cannot wing this recipe. Don’t try to eyeball the sugar stages. You need precision. Here is your survival kit:
- A Candy Thermometer: This is non-negotiable. You need to hit exactly 260°F (127°C). Not 255°F, not 265°F. Precision matters.
- A Stand Mixer: You can use a hand mixer if you want a serious arm workout, but the mixture gets very thick and heavy near the end. A stand mixer makes this a breeze.
- Wax Paper or Parchment: You need a place to drop the candy quickly.
- Two Spoons: These are for scooping and scraping the candy onto the paper.
The Ingredients Breakdown
You don’t need much. This is depression-era cooking at its finest—turning cheap staples into luxury.
- Sugar: Plain white granulated sugar.
- Corn Syrup: Light corn syrup prevents the sugar from crystallizing too early (turning grainy) and keeps the texture smooth.
- Water: To dissolve the sugar.
- Egg Whites: You need large egg whites, room temperature.
- Vanilla Extract: Use the clear stuff if you want your candy to stay stark white, but regular vanilla tastes better IMO.
- Pecans: Roasted and chopped.
Step-by-Step: How to Tame the Beast
Let’s walk through the process. Read this entirely before you turn on the stove. Timing is everything here.
Step 1: The Syrup Stage
Combine your sugar, corn syrup, and water in a heavy-bottomed saucepan. Stir it over medium heat until the sugar dissolves. Once it boils, stop stirring. If you stir boiling sugar, you encourage crystals to form, and your candy will turn gritty.
Clip your thermometer to the side of the pot. You are looking for the “hard ball” stage, which is 260°F.
Step 2: The Egg Whites
While the syrup boils, put your egg whites in the mixer bowl. When the syrup hits about 250°F, start beating the eggs on high speed. You want stiff peaks. They should stand up straight when you lift the beater.
Step 3: The Pour
This is the danger zone. Once your syrup hits 260°F, remove it from the heat immediately. With the mixer running on high, pour the hot syrup in a slow, steady stream into the egg whites.
Safety Tip: Pour down the side of the bowl, avoiding the whisk. If the hot syrup hits the whisk, it will fling molten sugar strands all over your kitchen (and your face). Not fun.
Step 4: The Beating (The Long Haul)
Once all the syrup is in, add your vanilla. Now, you beat it. And beat it. And beat it some more.
This process can take anywhere from 5 to 10 minutes. The mixture will start glossy and shiny. You must watch for the “loss of gloss.” The mixture will turn matte and start to lose its sheen. It will also get very stiff.
If you stop too early, the candy won’t hold its shape. If you wait too long, it will harden in the bowl. It’s a game of chicken.
The “Loss of Gloss” Explained
Recognizing this moment is the secret to success. As you beat the mixture, the sugar cools and starts to crystallize.
- Too Glossy: The candy falls off the spoon in a ribbon. It puddles on the paper.
- Just Right: The candy holds a peak when you lift the beater. It looks satin, not shiny.
- Too Stiff: The candy breaks apart or looks chalky.
When you see it lose that high-shine finish, stop the mixer. Fold in your nuts quickly.
Adding the Mix-Ins
Traditionally, pecans are the king of Divinity. The buttery crunch cuts through the intense sweetness. However, you have options.
- Walnuts: A slightly more bitter profile that balances the sugar well.
- Dried Fruit: Chopped cherries or cranberries add a festive color.
- Peppermint: Crushed candy canes make a beautiful holiday version.
Just like when you customize an easy vanilla cake, the base flavor is neutral enough to handle various add-ins. But honestly, stick to pecans for your first batch. It’s classic for a reason.
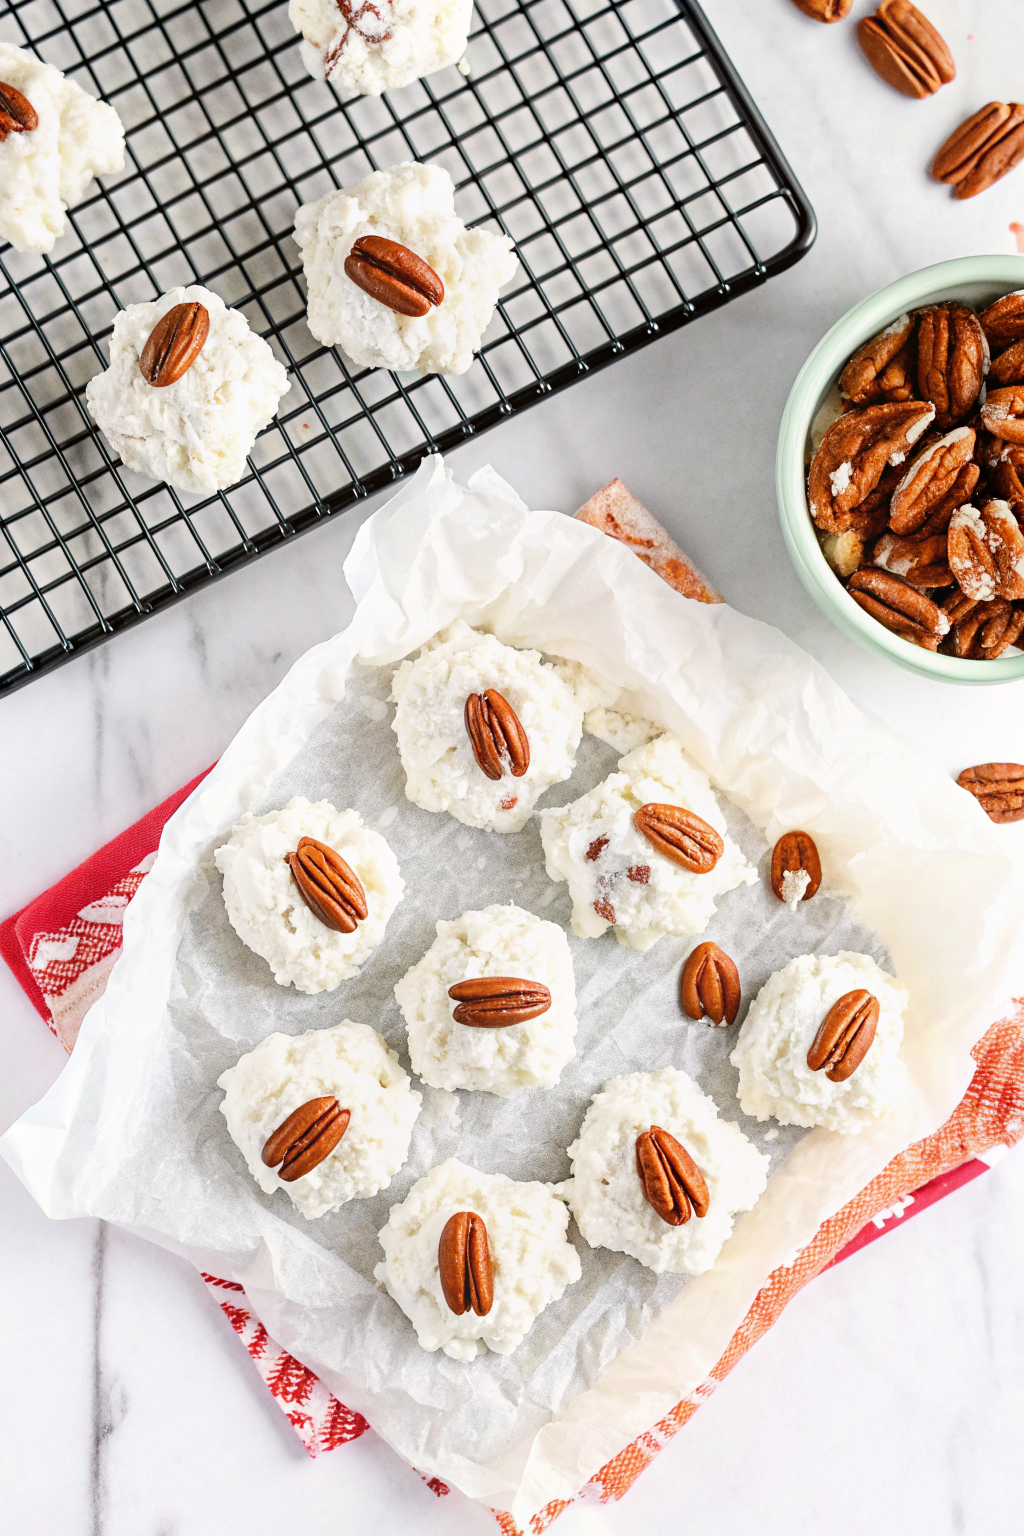
The Drop Zone
You must work fast. Once the candy reaches the right texture, it sets rapidly.
Take two spoons. Grease them with a little butter or cooking spray. Scoop a mound with one spoon and use the other to scrape it onto the wax paper. You can swirl the top to make it look fancy.
If the mixture starts to get too hard in the bowl towards the end, add a few drops of hot water and stir vigorously. This softens it just enough to scoop the last few pieces.
Troubleshooting: Why Did It Fail?
Even experienced candy makers mess this up. Here are the common disasters and why they happen.
The Puddle Problem
You dropped a spoonful, and it spread into a flat pancake.
The Cause: You didn’t beat it long enough, or it is too humid.
The Fix: Put the mixture back in the mixer and beat it longer. If that fails, it’s simply too humid.
The Crumbly Mess
The candy looks dry and falls apart.
The Cause: You beat it too long or cooked the syrup too high.
The Fix: Add a teaspoon of hot water and stir. It might save the batch.
The Brown Tint
Your candy isn’t white; it’s beige.
The Cause: You toasted the sugar. This happens if you cook the syrup too fast on high heat.
The Fix: Low and slow heat for the syrup next time. Or just tell people it’s “caramel divinity.”
Storage: Keep It Fresh
Air is the enemy. Once the candies are fully cool and set (give them at least an hour), pack them in an airtight container.
Separate the layers with wax paper so they don’t stick together. If you leave them out on the counter, they will absorb moisture and get sticky. Properly stored, Divinity Candy lasts for about two weeks. But let’s be honest, you will eat them before then.
Why We Should Keep Making This
In a world of instant gratification and store-bought treats, making candy from scratch feels like a lost art. There is something satisfying about watching clear syrup transform egg whites into a solid, fluffy structure. It’s chemistry you can eat.
Sure, it’s easier to make a loaf of pumpkin bread, mix it, and shove it in the oven. But Divinity requires your attention. It forces you to focus. And when you nail that texture, you feel like a master confectioner.
Comparison: Divinity vs. Nougat vs. Marshmallow
People often confuse these three. Let’s clear the air.
- Marshmallow: Uses gelatin for the bounce. It is rubbery and squishy.
- Nougat: Usually uses honey and egg whites. It is chewy and dense (think of the inside of a Snickers bar).
- Divinity: Uses only sugar and egg whites. It is short (meaning it breaks easily) and melts away. It is lighter than nougat but denser than a marshmallow.
For a deeper dive into the science of sugar stages and why temperature matters so much, The Spruce Eats has an excellent breakdown of what happens chemically at each degree. It helps explain why 260°F is the magic number.
Serving Suggestions
Divinity is very sweet. A little goes a long way.
Serve it alongside coffee or black tea. The bitterness of the drink cuts the sugar perfectly. It also looks beautiful on a holiday cookie tray. The stark white color pops against gingerbread and chocolate cookies.
FYI: If you gift this, tell the recipient to keep the lid closed. Nothing ruins a gift faster than a box of sticky goo.
Final Thoughts
Don’t let the reputation of Divinity Candy scare you off. It is temperamental, yes. It requires patience, absolutely. But it is also one of the most unique textures in the candy world.
Start checking your weather app. Wait for that crisp, dry day. Then, gather your ingredients and go for it. Even if your first batch isn’t perfect, it will still taste like sugary, pecan-filled happiness. And really, isn’t that the point?
So, grab that sugar, separate those eggs, and channel your inner Southern grandmother. You might just find that this becomes your new favorite tradition.


