
Let’s face it: roast beef has a bad reputation. We have all sat through a dinner where someone served a gray, tough slab of meat that required a chainsaw to cut and a gallon of water to swallow. It’s tragic, really. But when you treat the meat right, roast beef becomes the king of comfort food. And when you introduce Balsamic Glazed Roast Beef to the party? You change the game entirely.
I vividly remember the first time I tried to make a roast without a recipe. I bought the wrong cut, cooked it way too fast, and essentially served my family a seasoned shoe. Lesson learned. Since then, I have obsessively tweaked my method. I found that the secret isn’t just in the cooking time; it’s in the acidity and sweetness of the glaze.
We are going to make a roast that falls apart when you look at it. We are going to coat it in a sticky, sweet, savory balsamic reduction that will make you want to lick the plate. Put away the steak knives; you won’t need them today.
Choosing the Right Cut of Beef
You cannot transmute lead into gold, and you cannot turn a bad cut of meat into a tender roast without magic. Since we don’t have magic, we need to shop smart. The success of your Balsamic Glazed Roast Beef starts at the butcher counter.
Do not buy a lean loin roast for this. Lean meat dries out during slow cooking. You need fat. Fat equals flavor, and more importantly, fat equals moisture.
The Chuck Roast is Your Best Friend.
In my humble opinion (IMO), the Chuck Roast is the undisputed champion of pot roasts. It comes from the shoulder area of the cow, meaning it has a lot of connective tissue. That sounds unappealing, but during a slow cook, that tissue melts into gelatin. This gives the meat that luscious, melt-in-your-mouth texture we crave.
Other Contenders:
- Round Roast: Leaner than chuck. It slices neatly but can get dry if you aren’t careful.
- Rump Roast: Flavorful, but again, lean. If you use this, you must keep the cooking liquid high.
- Brisket: Excellent, but requires a completely different cooking strategy. Stick to the Chuck for this recipe.
The Science of the Balsamic Marinade
Why balsamic vinegar? It’s not just for salads. Balsamic vinegar contains acetic acid, which acts as a tenderizer. It gently breaks down those tough protein fibers before the heat even touches the meat.
But it does double duty. Balsamic also contains natural sugars. When you roast the beef, those sugars caramelize. They create a dark, sticky, savory bark on the outside of the meat that tastes incredible.
The Flavor Profile:
- Tangy: Cuts through the richness of the beef fat.
- Sweet: Balances the salt and savory herbs.
- Complex: Adds depth that plain beef broth just can’t match.
Searing: The Step You Cannot Skip
I know what you are thinking. “Can’t I just dump everything in the pot and walk away?” No. Put the remote down. You have work to do first.
Searing the meat creates the Maillard reaction. This is a chemical reaction between amino acids and reducing sugars that gives browned food its distinctive flavor. If you skip this step, your roast will taste like boiled meat. Nobody wants boiled meat.
How to Sear Like a Pro:
- Dry the Meat: Pat the beef completely dry with paper towels. Wet meat steams; dry meat sears.
- Get the Pan Hot: Use a heavy bottom pan or Dutch oven. Heat your oil until it shimmers.
- Don’t Touch It: Place the meat in the pan and leave it alone for 3–4 minutes per side. You want a deep, dark brown crust.
- Sear the Sides: Don’t forget the edges! Use tongs to hold the roast vertically to brown the fat cap.
Once you sear the meat, you lock in some flavor, but more importantly, you create a “fond” on the bottom of the pan. Those little brown bits stuck to the skillet? That is pure flavor gold. We will deglaze that later.
The Aromatics and Liquid
While the beef is the star, the supporting cast matters. You need vegetables to flavor the cooking liquid, which will eventually become your gravy.
I keep it classic with onions, carrots, and garlic. I prefer to leave the garlic cloves whole or just smashed. If you mince them, they might burn during the long cooking process.
The Liquid Ratio:
You don’t want to boil the beef; you want to braise it. The liquid should come about halfway up the side of the roast.
- Beef Broth: Use a low-sodium version so you can control the salt level.
- Balsamic Vinegar: The hero ingredient. Use a decent quality one, but don’t waste the $50 bottle on a pot roast.
- Soy Sauce: My secret weapon. It adds a salty, umami kick that darkens the gravy.
- Honey or Brown Sugar: This balances the acidity of the vinegar.
Cooking Method: Low and Slow
You have prepared the meat. You have seared it to perfection. Now, you wait. The collagen in a chuck roast needs time and low heat to break down. If you rush this, the meat will be tough.
The Oven Method (My Favorite):
I prefer the oven because it heats evenly and reduces the liquid slightly as it cooks, intensifying the flavor.
- Preheat oven to 300°F (150°C) or 325°F (160°C).
- Cover the Dutch oven tightly with a lid.
- Cook for 3 to 4 hours.
- Check it at the 3-hour mark. It should pull apart easily with a fork.
The Slow Cooker Method:
This is great for convenience.
- Sear the meat on the stove first (seriously, do not skip this).
- Transfer everything to the slow cooker.
- Cook on LOW for 8 hours. Do not cook on High; it boils the meat and makes it tough.
While waiting for the beef to roast, I usually whip up some appetizers to keep the hunger at bay. A batch of mini meatball bites works perfectly because they share similar savory notes but offer a different texture.
Transforming the Sauce
When the beef finishes cooking, you will have a pot full of liquid and soft vegetables. You could serve it just like that, but we want a Balsamic Glaze, not balsamic soup.
- Remove the Beef: Take the roast out carefully (it might fall apart) and set it on a cutting board. Tent it with foil.
- Strain the Fat: Skim the excess fat off the top of the liquid. A little fat is good; an oil slick is bad.
- Simmer Down: Place the Dutch oven back on the stove over medium-high heat. Bring the liquid to a boil.
- Reduce: Let it bubble away for 10–15 minutes. The vinegar will concentrate, the sugars will thicken, and the flavor will punch you in the face (in a good way).
If you like a thicker, gravy-like consistency, you can mix a tablespoon of cornstarch with cold water and whisk it into the boiling liquid. Personally, I prefer the natural reduction, but you do you.
Slicing and Serving
There is one final hurdle that trips up many home cooks: slicing.
Rest the Meat.
If you cut into the roast the second it comes out of the oven, all those delicious juices run out onto the board. Your meat becomes dry instantly. Let it rest for at least 15 to 20 minutes. This allows the fibers to relax and reabsorb the juices.
Cut Against the Grain.
Look at the meat. You will see lines running in one direction (the muscle fibers). You must cut perpendicular to those lines. If you cut with the grain, you end up with long, stringy, chewy pieces. Cutting against the grain shortens the fibers, making every bite tender.
What to Serve With It?
You need something to soak up that incredible balsamic sauce. Mashed potatoes are the classic choice, but if you want to elevate the meal, try pairing it with garlic roasted potatoes. The crispy edges of the potatoes contrast beautifully with the tender beef.
For a vegetable side, roasted green beans or Brussels sprouts work well because their bitterness stands up to the sweet glaze.
And honestly, this meal screams “comfort food” just as much as a classic pasta dish. It gives me the same cozy vibes as making an easy homemade lasagna on a cold Sunday afternoon. Both dishes require patience, but the payoff is worth every second.
Troubleshooting Your Roast
Sometimes, despite our best efforts, things go sideways. Let’s troubleshoot.
“My roast is tough!”
This almost always means you didn’t cook it long enough. It sounds counterintuitive, but tough meat needs more time, not less. The collagen hasn’t melted yet. Put it back in the pot, add a splash more broth if needed, and give it another 45 minutes.
“My roast is dry!”
You probably used a lean cut like a round roast, or you boiled it too hard. Slice the meat thinly and put it back into the warm gravy for 10 minutes before serving. The meat will soak up the sauce and hide your mistake.
“The sauce is too sour!”
Balsamic vinegar packs a punch. If the sauce makes your lips pucker too much, add a tablespoon of brown sugar or honey. Stir and taste. The sweetness will neutralize the acid.
Safety First
I know we are keeping this informal, but nobody wants food poisoning. According to the USDA, beef is safe to eat at 145°F, but for a pot roast to be tender, you actually want the internal temperature to reach around 190°F to 200°F. This is the sweet spot where the connective tissue breaks down. Use a meat thermometer; it’s the only way to be sure.
Leftovers: The Gift That Keeps on Giving
One of the best things about making a large Balsamic Glazed Roast Beef is the leftovers. In fact, I often argue that it tastes better the next day. The flavors meld together in the fridge overnight.
Storage Tips:
- Store the meat submerged in the gravy. This keeps it moist.
- It lasts for 3–4 days in the refrigerator.
Reheating:
Do not microwave the beef by itself! It will turn into rubber. Place the beef and the sauce in a small pot on the stove and warm it gently over low heat. Or, put it in a covered dish in the oven at 300°F until warmed through.
Leftover Ideas:
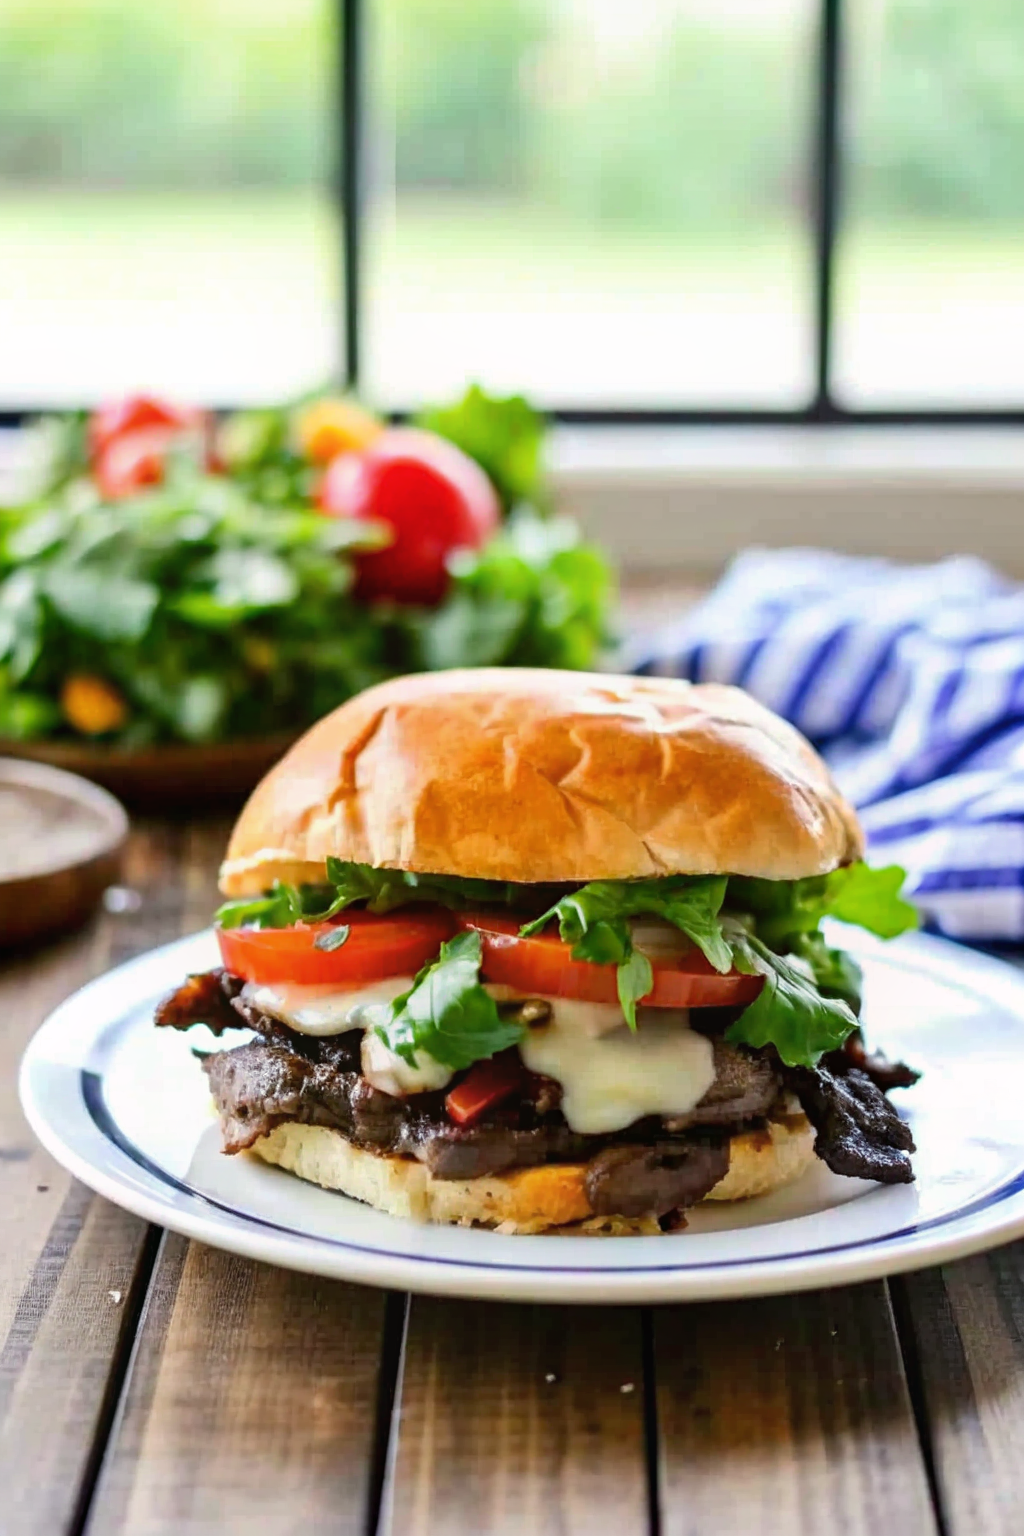
- Sandwiches: Shred the cold beef and pile it on a crusty roll with melted provolone.
- Tacos: Balsamic beef tacos with pickled onions and cilantro? Yes, please.
- Hash: Chop it up and fry it with potatoes and onions for breakfast.
Final Thoughts
Cooking a great roast beef feels like a rite of passage. It connects us to generations of home cooks who understood the value of taking a tough, cheap cut of meat and turning it into a feast through patience and care.
The balsamic glaze adds a modern, sophisticated twist to this classic. It transforms the dish from “grandma’s Sunday dinner” to “impressive dinner party main course.” The dark, glossy sauce looks beautiful on the plate, and the smell that fills your house while it cooks is better than any candle you could buy.
So, don’t be afraid of the roast. Embrace the chuck. Sear it like you mean it. Let the oven do the heavy lifting. When you take that first bite of tender, tangy, sweet beef, you will wonder why you ever settled for dry roast beef in the past.
Get to the butcher, grab a bottle of balsamic, and start cooking. Your kitchen is about to become the most popular room in the house.
FYI, if you make this, invite me over. I’ll bring the wine.
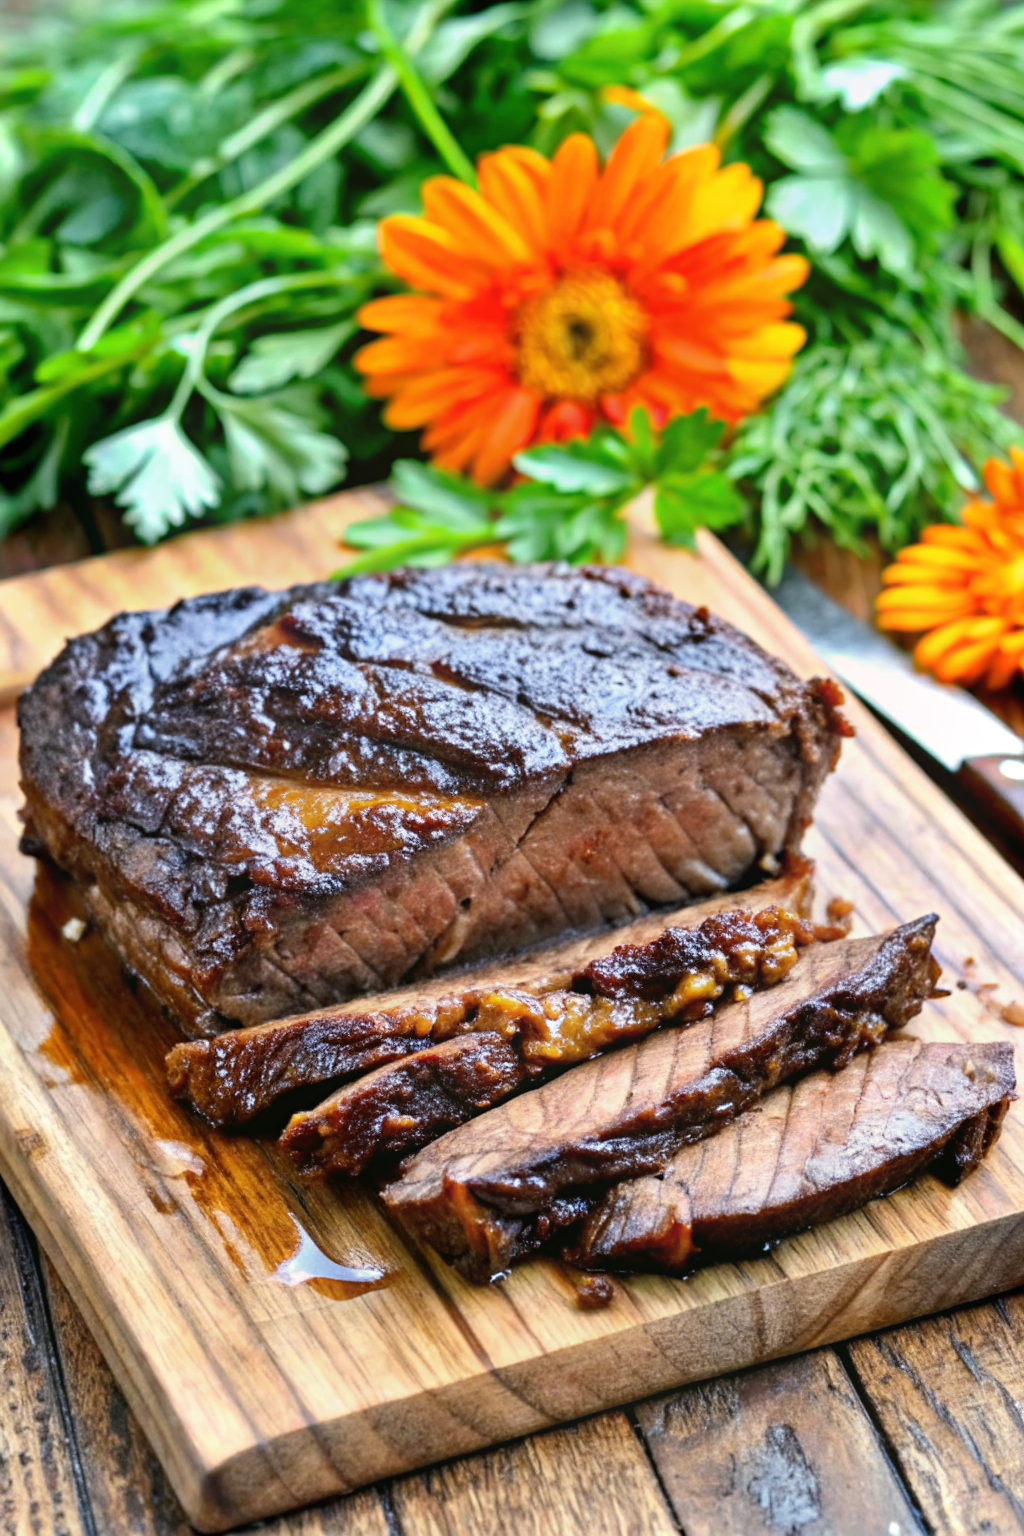
Melt-in-Your-Mouth Balsamic Glazed Roast Beef
Author: Prep: 20 minutes Cook: Total: 3 hours 30 minutesEquipment
- Large Dutch Oven (or heavy-bottomed pot)
- Kitchen Tongs
- Sharp Carving Knife
- Meat Thermometer
Ingredients
The Beef
- 3-4 lb Chuck roast boneless
- 1 tbsp Olive oil
- 1 tbsp Kosher salt generous pinch
- 1 tsp Black pepper freshly cracked
The Aromatics
- 1 large Onion cut into large wedges
- 4 large Carrots cut into 2-inch chunks
- 4 cloves Garlic smashed (peeled but left whole)
- 2 sprigs Fresh thyme or rosemary
The Balsamic Braising Liquid
- 1 cup Beef broth low sodium
- 1/2 cup Balsamic vinegar good quality
- 1 tbsp Soy sauce for umami depth
- 1 tbsp Honey or brown sugar
- 1 tbsp Cornstarch optional, for thicker gravy
- 1 tbsp Water optional, to mix with cornstarch
Instructions
- Preheat: Preheat your oven to 300°F (150°C). We want a low temperature for a long, slow cook.
- Prep the Meat: Pat the chuck roast completely dry with paper towels. This is crucial for a good sear! Season generously on all sides with kosher salt and black pepper.
- The Sear: Heat the olive oil in a large Dutch oven over medium-high heat. Once the oil shimmers, add the beef. Sear undisturbed for 3–4 minutes per side until a deep, dark brown crust forms. Don’t forget to sear the edges using your tongs!
- Add Aromatics: Remove the beef briefly and set aside. Toss the onions, carrots, and smashed garlic into the pot. Sauté for 2 minutes just to get some color on them.
- Deglaze: Pour in the balsamic vinegar and beef broth. Use a wooden spoon to scrape up the browned bits (fond) from the bottom of the pot—that’s pure flavor. Stir in the soy sauce, honey (or brown sugar), and toss in the herb sprigs.
- Braise: Return the beef to the pot, nestling it into the liquid and vegetables. The liquid should come about halfway up the roast. Cover tightly with the lid.
- Slow Cook: Place the pot in the oven and roast for 3 to 4 hours. Start checking at the 3-hour mark. The Balsamic Glazed Roast Beef is done when it is fork-tender and falls apart with zero resistance.
- Rest: Transfer the roast to a cutting board and tent loosely with foil. Let it rest for at least 20 minutes. This helps the juices redistribute so the meat stays moist.
- Make the Glaze: While the beef rests, skim the fat off the liquid remaining in the pot. Bring the liquid to a boil on the stove over medium-high heat. Let it reduce for 10 minutes to thicken naturally. Optional: If you like a thicker gravy, mix the cornstarch and water, stir it in, and boil for 1 minute.
- Serve: Slice the beef against the grain (or shred it if you prefer). Arrange on a platter with the vegetables and drizzle generously with the balsamic glaze.
Notes
- Slow Cooker Method: Sear the meat on the stove first (don’t skip this!), then transfer everything to a slow cooker. Cook on LOW for 8 hours.
- Slicing: Always slice against the grain (perpendicular to the muscle fibers) to ensure every bite is tender.
- Leftovers: Store leftover beef in the gravy to keep it moist. It keeps in the fridge for 3–4 days and makes amazing sandwiches.
- Vegetables: The carrots and onions will be very soft after 4 hours. If you prefer firm vegetables, add them during the last hour of cooking
Nutrition


