

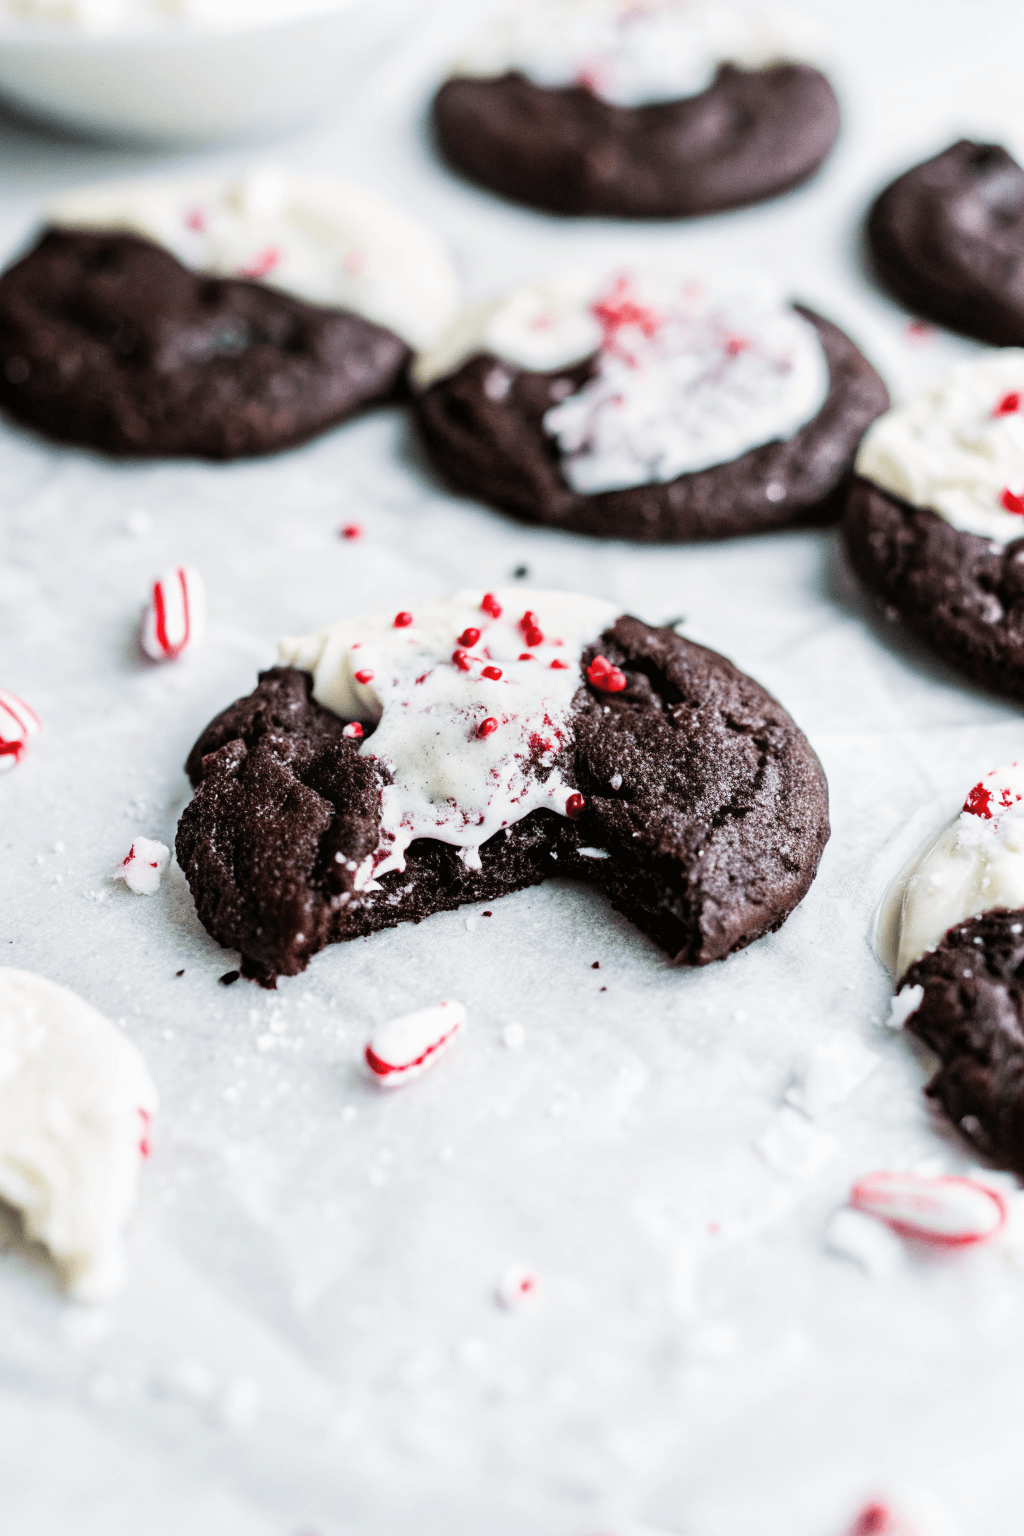
Alright, friend — if you’re thinking about whipping up some cookies that taste like holiday magic in edible form, let me introduce you to chocolate peppermint cookies. These tasty bites are like a cozy winter hug: rich chocolate meets that crisp, bright peppermint kick, and suddenly your kitchen smells like you just walked into Santa’s workshop.
I don’t even need an excuse to bake these — anytime is peppermint-cookie time in my book. And once you make a batch, you’ll probably find someone hiding in the kitchen, munching them when they think no one’s watching. (Been there.)
Why Chocolate Peppermint Cookies Are a Game-Changer
The Flavor Combo That Wins
If you ask me, the magic is in that balance:
- Chocolate gives you comforting richness and depth.
- Peppermint brings a refreshing, cooling zing.
Together, they create a cookie that’s not overly sweet or cloying, but just right. Ever bite into one and feel like you’ve hit dessert nirvana? Exactly.
Nostalgia + Sophistication
These cookies are perfect for everyone. They taste cozy and familiar — like childhood candy canes — but they also feel a little grown-up thanks to the chocolate. It’s like wearing an ugly holiday sweater with leather boots: cute and a little bold.
Versatility for All Occasions
Whether you’re baking for a Christmas party, prepping gifts, or just treating yourself on a Tuesday, chocolate peppermint cookies are totally appropriate. They store nicely, freeze well, and transport like a dream — especially when wrapped in pretty jars.
How to Make Incredible Chocolate Peppermint Cookies
Here’s my step-by-step, friend-to-friend guide for baking cookies that are actually good (not just “holiday cute”).
Ingredients That Actually Matter
To make classic chocolate peppermint cookies, you’ll want to gather:
- All-purpose flour
- Unsweetened cocoa powder
- Baking soda (or baking powder, depending on the recipe)
- Salt
- Butter (room temperature)
- Brown sugar + granulated sugar
- Eggs
- Vanilla extract
- Peppermint extract
- Chocolate chips (or chopped chocolate)
- Optional: crushed candy canes for garnish or in the dough
These ingredients hit all the right notes: richness, structure, sweetness, and that minty pop.
Step-by-Step Baking Guide
1. Mix Dry Ingredients
Sift together your flour, cocoa powder, baking soda, and salt. This ensures even chocolate flavor and avoids any random lumps.
2. Cream Butter & Sugar
Beat room-temperature butter with both sugars until the mixture is light and fluffy. This makes your cookies tender and slightly chewy.
3. Add Eggs and Extracts
Beat in the eggs one at a time, then stir in vanilla and peppermint extract. Don’t go crazy with the peppermint — ¾ teaspoon is plenty for that refreshing flavor without overpowering.
4. Combine with Dry Mix
Slowly fold in the dry ingredients, mixing just until everything comes together. Overmixing = tough cookies, and we don’t want that.
5. Fold in Chocolate
Add your chocolate chips or chopped chocolate. I like a mix of both — big chunks for pockets of melty goodness, small chips for consistent chocolate notes.
6. Chill the Dough
Pop the dough in the refrigerator for at least 30 minutes, preferably an hour or more. This helps:
- Control spreading
- Deepen the flavor
- Give the dough a better texture
Trust me, chilling is not optional if you want cute, perfect cookie shapes.
7. Shape & Bake
Roll or scoop dough into balls (about 1–1.5 tablespoons each), place them spaced out on a parchment-lined baking sheet, and bake at about 350°F (175°C) for 8–12 minutes, depending on size. You want the edges to be set, but the centers can still look slightly soft.
8. Add the Finishing Touch
While the cookies cool, whisk together a simple glaze (confectioners’ sugar + a few drops of peppermint extract + a tiny splash of water) — or melt a little chocolate with cream and butter. Drizzle or spread that over cooled cookies, then sprinkle crushed candy canes on top (if you want crunch + festive flair).
Pro Tips for Baking Peppermint Cookies Like a Pro
- Use Good Peppermint Extract: Cheap extract can taste fake. A quality one gives a clean, crisp flavor.
- Quality Chocolate Matters: Higher-quality chocolate melts better and gives a smoother, richer taste.
- Don’t Overbake: Cookies continue to set on the tray. If they look a little underdone, that’s fine — they’ll firm up as they cool.
- Storage: Store in an airtight container at room temp for up to a week. For longer storage, freeze baked cookies or even the dough.
- Customize: You can swap in dark chocolate, white chocolate, or even add nuts or dried mint pieces. The base recipe is super flexible.
Variations to Try (Because Why Stick to One?)
If you’re feeling creative or just want to try something different, here are a few fun spins on chocolate peppermint cookies:
- Peppermint Crinkle Cookies
Try rolling the dough in confectioners’ sugar before baking so they crack beautifully. Inspired by this style from BBC Good Food. (Good Food) - Mint Chocolate Chip Cookies
Use dark chocolate chips + chopped candy canes + a touch of peppermint extract. BBC Good Food has a great version. (Good Food) - Double Chocolate-Peppermint Crunch
Use both cocoa powder and melted chocolate for the dough, and top with crushed peppermint candies. Inspired by a rich Food Network recipe. (Food Network)
Where Chocolate Peppermint Cookies Shine
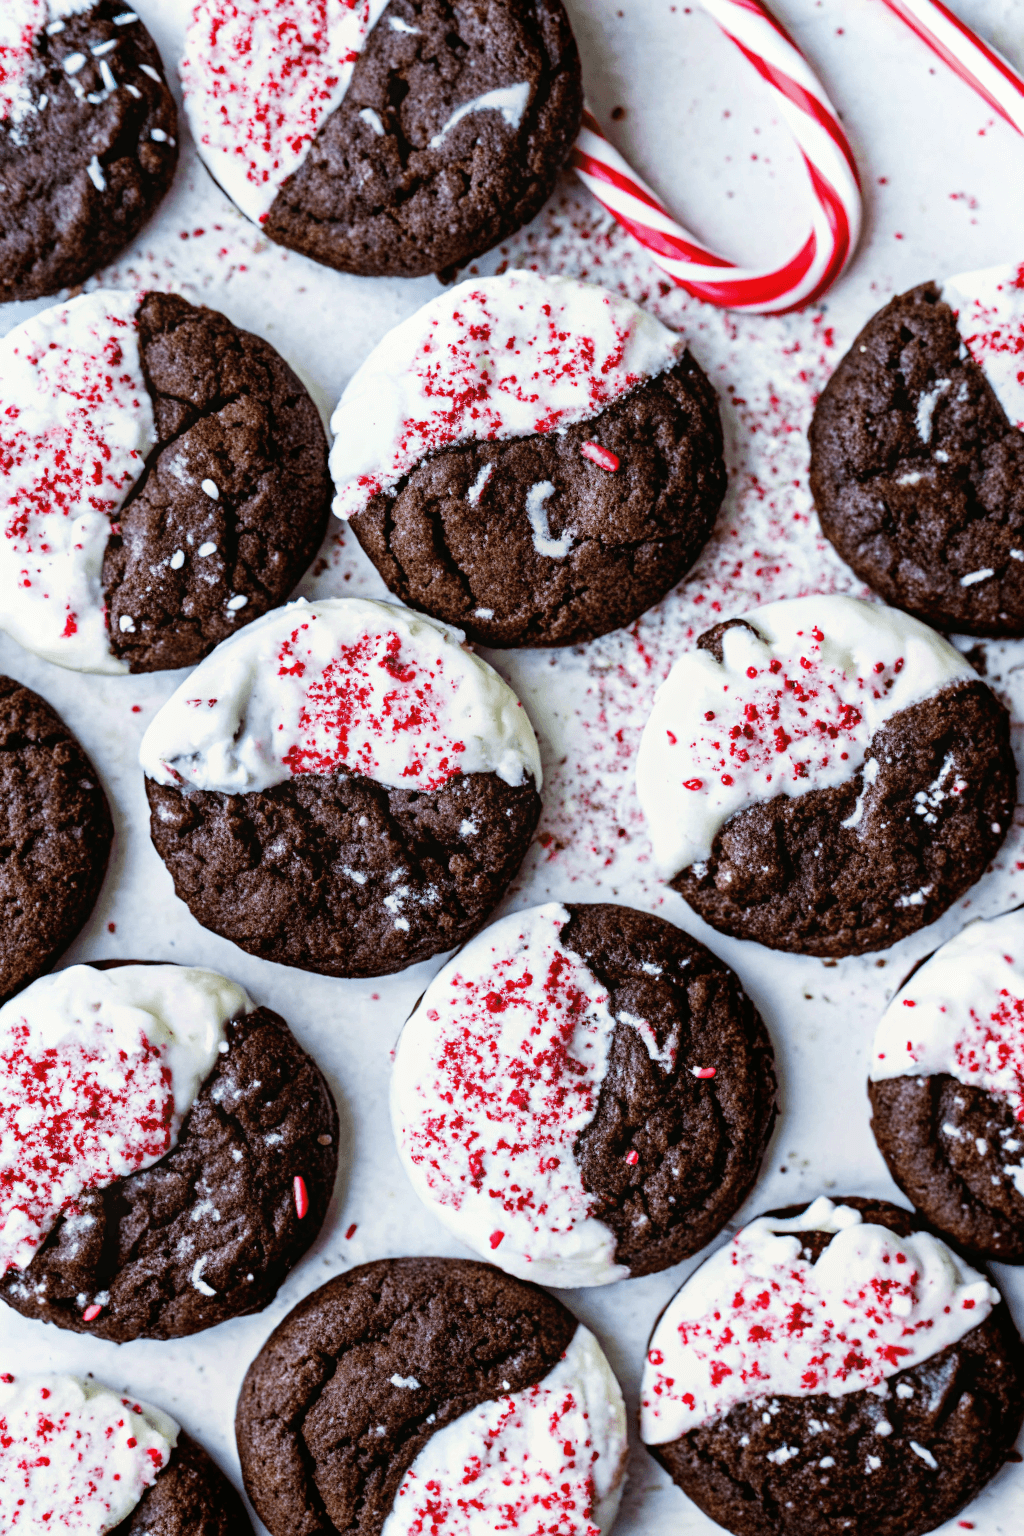
- Holiday Parties: Easily one of the most photogenic and tasty choices on the cookie tray.
- Gift Giving: Pack them in jars or boxes; they feel homemade but look gourmet.
- After-Dinner Treats: Serve with coffee or tea — the mint refreshes, the chocolate comforts.
- Bake Sales: These cookies are festive, eye-catching, and something people will actually want to buy.
- Midnight Craving: You deserve a treat. Seriously, bake a batch for yourself.
Troubleshooting — Because Baking Isn’t Always Perfect
- Cookies Spread Too Much: Dough wasn’t chilled, or the butter was too warm. Chill longer next time.
- Cookies Too Dry or Hard: You may have overbaked or used too much flour. Try reducing bake time or re-measuring flour.
- Peppermint Flavor Not Noticeable: Use a stronger peppermint extract, or increase by a tiny bit (but don’t go overboard — I learned that the hard way).
- Glaze Too Runny: Add more powdered sugar or let it set a little before drizzling.
Why I Personally Love These (Yes, I Have a “Why”)
Let me get a little personal here: I bake these cookies every December, not just because they’re delicious, but because they feel like tradition. When I was younger, my mom would crush candy canes and we’d take turns sprinkling them on cookies while the kitchen smelled like hot chocolate. Now, I bake them for friends, and sometimes I catch someone eyeing the cookie jar late at night. Somehow, that feels just as magical as when I was a kid.
Also, they’re a lifesaver when I want something fancy-ish but don’t want to spend three hours decorating. A quick swirl of glaze and a sprinkle of peppermint makes them look like I put in way more effort than I actually did.
Internal Inspiration from My Favorite Recipes
If you enjoy chocolate-peppermint cookies, you might also appreciate some of my other favorite treats:
- The Chocolate Chip Bliss offers that classic, gooey chocolate chip goodness — a perfect companion or contrast to mint. (cookingwithdonna.com)
- I also love the Matcha Crinkle Cookies — their soft, chewy texture and earthy flavor feel totally different but equally comforting. (cookingwithdonna.com)
- For something totally indulgent, the **Classic Cheesecake Recipe** is a rich, creamy dessert you can serve alongside your cookies for a dessert board that rivals any bakery. (cookingwithdonna.com)
A Quick Nod to What the Pros Do
If you want a tried-and-tested, chef-approved base, Food Network has a solid Chocolate-Peppermint Cookies recipe that uses simple ingredients and a classic technique. (Food Network) Their method includes a chocolate dough, peppermint extract right in the batter, and a glossy chocolate-cream icing with crushed peppermint on top — basically everything we love, but with pros at the reins.
Final Thoughts: Bake These, Share These, Enjoy These
If you’ve never made chocolate peppermint cookies, you’re missing out. They’re not just a dessert — they’re a mood, a memory, and a reason to turn on all the twinkle lights in your kitchen.
Chocolate Peppermint Cookies
Author: Prep: 15 minutes Cook: 10 minutes Total: 45 minutesEquipment
- Mixing bowls
- Hand mixer or stand mixer
- Rubber spatula
- Baking sheets
- Parchment paper
- Cookie scoop
- Cooling rack
Ingredients
- Dry Ingredients:
- 1 ¼ cups all-purpose flour
- ½ cup unsweetened cocoa powder
- 1 teaspoon baking soda
- ¼ teaspoon salt
Wet Ingredients:
- ½ cup unsalted butter softened
- ¾ cup granulated sugar
- ¼ cup brown sugar
- 1 large egg
- 1 teaspoon pure vanilla extract
- ½ teaspoon peppermint extract
Mix-Ins & Toppings:
- 1 cup chocolate chips
- ½ cup crushed peppermint candy or candy canes plus extra for topping
Instructions
- Prep the basics.
- Preheat your oven to 350°F (175°C) and line two baking sheets with parchment paper. This keeps the cookies soft and prevents sticking.
- Whisk your dry ingredients.
- Grab a medium bowl and whisk together the flour, cocoa powder, baking soda, and salt until smooth.
- Cream the butter and sugars.
- In a large mixing bowl, beat the softened butter with granulated and brown sugar until the mixture turns light and fluffy. This step gives your Chocolate Peppermint Cookies that perfect soft texture.
- Add the egg and extracts.
- Beat in the egg, vanilla, and peppermint extract until everything blends into a silky, chocolate-scented base.
- Combine wet and dry.
- Pour the dry mixture into the wet mixture and mix just until no streaks of flour remain. Don’t overmix—nobody wants tough cookies 🙂
- Fold in the chocolate and peppermint.
- Use a spatula to fold in the chocolate chips and crushed peppermint pieces.
- Scoop and shape.
- Use a cookie scoop to form even dough balls and place them on your prepared baking sheets about 2 inches apart.
- Add extra peppermint.
- Sprinkle a little extra crushed peppermint on top for that holiday sparkle.
- Bake.
- Bake for 9–10 minutes, or until the edges look set but the centers still look soft. They firm up perfectly as they cool.
- Cool and enjoy.
- Let the cookies cool on the sheet for 5 minutes, then transfer them to a cooling rack. Try not to eat three immediately… no judgment if you do 🙂
Notes
- Chill the dough for 20–30 minutes if you want thicker, puffier cookies.
- Don’t skip the peppermint extract—it gives flavor in every bite without relying only on candy pieces.
- Use mini chocolate chips if you want a more evenly distributed chocolate bite.
- Store the cookies in an airtight container for up to 5 days, or freeze the dough for future cookie cravings.
- For an extra-pretty finish, drizzle a little melted white chocolate on top.
Nutrition


