
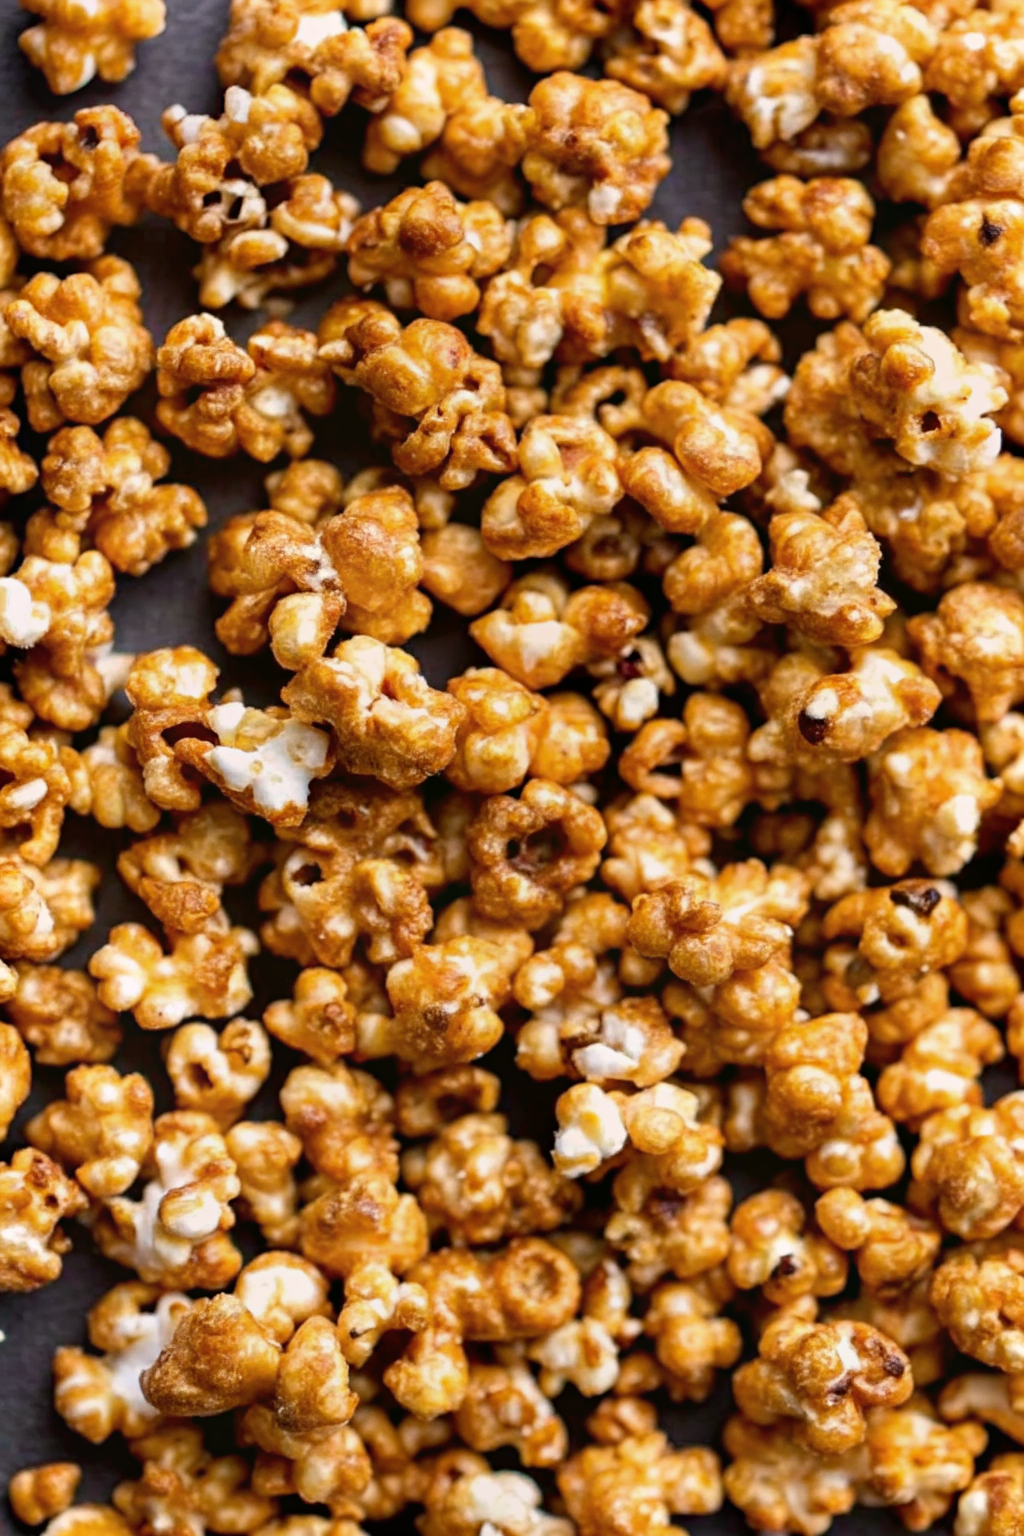
Let’s be honest. That giant, three-flavor tin of popcorn you get every holiday season is mostly a lie. The cheese flavor tastes like neon dust, the butter flavor tastes like sadness, and the caramel corn? It usually fuses together into a brick that threatens to pull your fillings out. We deserve better. We deserve Caramel Popcorn that shatters when you bite it, melts on your tongue, and doesn’t require a dentist appointment afterward.
I have spent years perfecting this recipe. My early attempts resulted in burnt sugar smoke alarms and sticky, chewy messes that glued my fingers together. But after sacrificing several pans to the kitchen gods, I finally cracked the code.
Today, we are making the real deal. We aren’t just melting caramels and pouring them over corn. We are making a scratch caramel sauce, aerating it with science (yes, science!), and baking it to golden, crispy perfection. Put down the store-bought bag; we are going to ruin you for all other popcorn forever.
The Kernel Conundrum: Mushroom vs. Butterfly
You might think all popcorn is the same. It isn’t. If you look closely at gourmet popcorn shops, you will notice their kernels look round and sturdy.
Butterfly Popcorn:
This is what usually comes out of microwave bags. It has “wings” that stick out. These wings are fragile. When you toss them in heavy, hot caramel, they tend to break off, leaving you with sad little crumbs.
Mushroom Popcorn:
This is the secret weapon. These kernels pop into round, ball-like shapes. They provide a sturdy surface area that holds the heavy caramel coating without crumbling.
My Verdict:
If you can find mushroom popcorn kernels online or at a specialty store, buy them. They make a massive difference in the final texture. But if you only have standard kernels in your pantry? Don’t stress. They will still taste amazing; just stir them gently.
The Pop: Air, Stove, or Microwave?
You need a blank canvas. Do not use buttery microwave popcorn for this. The artificial butter flavor clashes horribly with the real butter in the caramel.
The Air Popper:
This is my preferred method. It requires zero oil, which means the caramel sticks better to the dry surface of the corn.
The Stovetop:
This adds a nice toasted flavor. Just use a neutral oil like canola or coconut oil. Avoid olive oil, as its flavor profile is too strong for a dessert snack.
The Dentist Rule:
Before you pour any sauce, sift through your popped corn with your hands. Remove the unpopped kernels. Nothing ruins a mouthful of soft, sweet caramel corn faster than biting down on a rock-hard unpopped kernel. Your molars will thank you.
The Sauce: Building the Liquid Gold
Now we get to the dangerous part. Boiling sugar is basically culinary napalm, so please be careful.
You need four main players:
- Butter: Real, salted butter. Margarine contains too much water and will make your popcorn soggy.
- Brown Sugar: This provides the molasses flavor and the rich, dark color.
- Corn Syrup: I know, corn syrup gets a bad rap. But in candy making, it prevents the sugar from crystallizing. It keeps the sauce smooth and glossy.
- Salt: Salt creates that addictive “salted caramel” vibe that makes you eat the whole bowl.
Combine these in a saucepan and bring them to a boil. Once it boils, stop stirring. Let it bubble for 4 to 5 minutes. You want the sugar to dissolve completely and the mixture to thicken slightly.
The Secret Ingredient: Baking Soda
This is the step that freaks people out. When you remove the caramel from the heat, you stir in baking soda.
Why? The baking soda reacts with the acid in the brown sugar and corn syrup. This creates tiny carbon dioxide bubbles. The mixture will foam up violently and turn a light, opaque blonde color.
This is essential for texture.
Those tiny air bubbles remain in the caramel as it cools. This aerates the candy coating. Instead of biting into a hard, glass-like shell that hurts your teeth, you bite into a delicate, crispy foam that shatters easily. It’s the difference between a jawbreaker and a Cheeto.
The Coating Process: Speed is Key
Once you add the baking soda and vanilla, the clock starts ticking. The caramel begins to cool and set immediately.
- Pour the foaming caramel over your bowl of popcorn.
- Toss immediately. Use two silicone spatulas to lift and fold the corn.
- Don’t worry about coating every single kernel perfectly right now. You will fix that in the oven.
If you have a sweet tooth like me, you probably love baking classics like oatmeal cookies, but sometimes you just need a snack with a serious crunch that cookies can’t provide. This popcorn fills that void perfectly.
The Bake: Drying It Out
If you stop now, you will have sticky, chewy popcorn. It will stick to your teeth, and you will be sad. To get that “Cracker Jack” crunch, you must bake it.
Preheat your oven to 250°F (120°C).
Spread the sticky popcorn onto two large, rimmed baking sheets. Line them with parchment paper (unless you enjoy scrubbing caramelized sugar off metal).
Bake for 45 minutes to 1 hour.
Every 15 minutes, take the pans out and stir the popcorn.
- Why stir? As the caramel heats up again, it melts and becomes liquid. Stirring helps redistribute the sauce to coat any naked kernels you missed earlier.
- Why bake? The low heat evaporates the remaining moisture in the butter and syrup. This dehydration process creates the crunch.
Cooling: The Hardest Part
Pull the pans out of the oven. The popcorn will still feel slightly soft and sticky. Do not panic.
Crisping happens during cooling.
Let the popcorn sit on the counter until it reaches room temperature. As the sugar cools, it hardens into that signature glass-like shell.
While I love a good savory appetizer, like a savory puff pastry tree, there is just something about a bowl of warm, sugary corn that screams “party” in a totally different way. But unlike the pastry, you have to wait for this to cool down!
Once cool, break up the large clumps with your hands. Or don’t. I personally enjoy finding a “popcorn boulder” that consists of five kernels fused together by caramel. It feels like winning the lottery.
Variations: Jazzing It Up
Classic Caramel Popcorn is perfect, but sometimes we want chaos.
The “Chicago Style” Mix
Mix your finished caramel corn with cheddar cheese popcorn. The sweet and savory combo sounds weird, but it works.
Nutty Caramel
Add raw pecans, peanuts, or almonds to the bowl of popcorn before you pour the caramel. The nuts get coated in the sugar and roasted in the oven right alongside the corn.
Chocolate Drizzle
Once the popcorn cools, melt some dark chocolate and drizzle it over the top. Let it set in the fridge for 10 minutes.
Spicy Caramel
Add a pinch of cayenne pepper or cinnamon to the sauce when you add the baking soda. The heat hits you right after the sugar.
Troubleshooting: What Went Wrong?
I have failed at this recipe many times. Let me save you the trouble.
“My popcorn is chewy.”
You didn’t bake it long enough. Put it back in the oven for another 15 minutes. The humidity in your house can also affect this; on rainy days, candy absorbs moisture from the air.
“My caramel tastes bitter.”
You burned the sugar. When boiling the sauce, if you smell anything acrid, you went too far. Toss it and start over. Sugar goes from “perfect” to “burnt” in seconds.
“The sauce is grainy.”
The sugar crystallized. This happens if you stir too much while it boils. Once it starts boiling, keep your spoon out of the pot!
Storage: Fighting Humidity
Sugar loves water. If you leave this popcorn out in a bowl on a humid day, it will turn into a sticky mess within hours.
Air-Tight is the Law.
Store the completely cooled popcorn in a sealed container or a zipper bag with the air squeezed out.
It stays fresh for about two weeks, though I have never seen a batch last that long in my house.
Freezing:
Believe it or not, you can freeze caramel corn. It keeps it incredibly crisp. Just eat it straight from the freezer; it doesn’t freeze solid because of the low water content.
Serving Occasions
This popcorn is the perfect follow-up to a cozy comfort meal, like a hearty holiday chicken pot pie, especially when you want to settle in for a movie marathon. It transitions the night from “dinner” to “event.”
It also makes an incredible gift. Put it in a mason jar, tie a ribbon around it, and suddenly you are the thoughtful friend who makes homemade treats. It costs pennies to make but looks like a million bucks.
A Note on Cleanup
I feel obligated to warn you about the mess. You will have a pot coated in hardened sugar. Do not scrub it.
Simply fill the pot with water, put it back on the stove, and boil it. The hot water dissolves the sugar effortlessly. Science wins again.
The Cost Comparison
Have you seen the price of gourmet popcorn lately? A small bag costs as much as a steak dinner.
This recipe uses:
- $0.50 worth of corn.
- $1.00 worth of butter.
- $0.50 worth of sugar.
You get a massive, family-sized batch for under three dollars. IMO, that is the best argument for making it yourself. Plus, your house smells like a carnival, which is a nice bonus.
Final Thoughts
There is a moment when you take the first bite of homemade Caramel Popcorn. You hear the snap of the shell, you taste the rich, buttery molasses flavor, and you realize you can never go back to the tin.
It takes a little patience. You have to watch the pot, you have to stir the oven trays, and you have to wait for it to cool. But the result is a snack that feels special. It feels crafted.
So, grab a big pot. Buy the real butter. Turn on your favorite movie. You are about to make the best snack of your life.
Now, go get popping!
FYI, according to the baking experts at King Arthur Baking, adding baking soda to caramel not only changes the texture but also raises the pH, which encourages the Maillard reaction (browning), giving you that deeper, more complex flavor. So, don’t skip it!
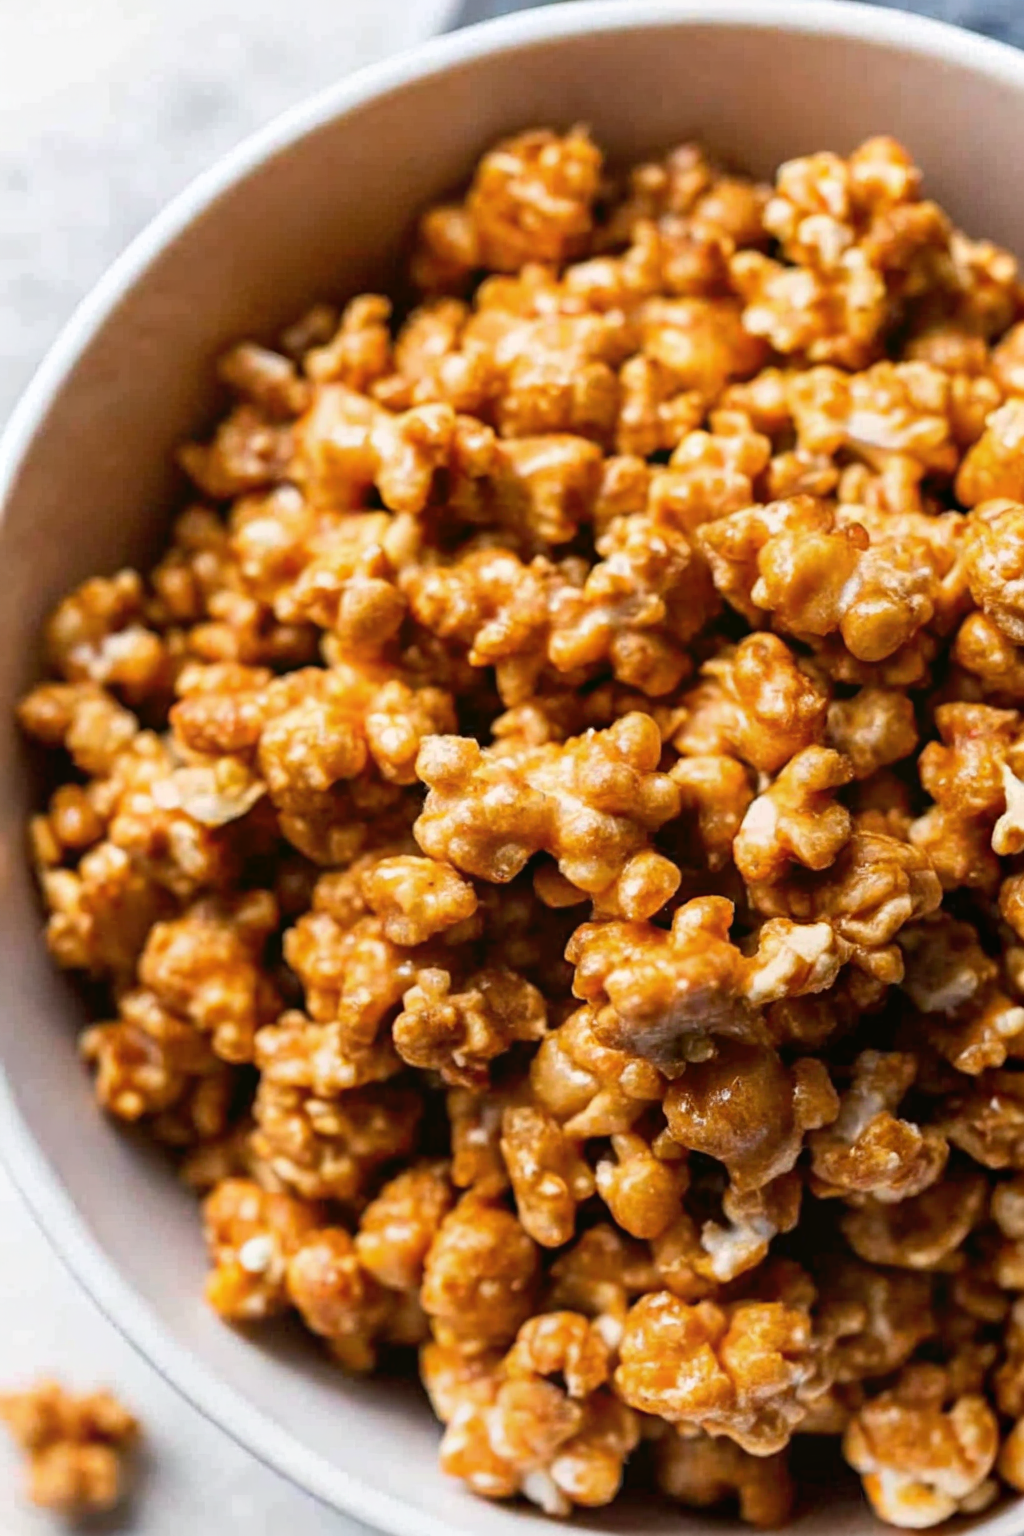
Homemade Caramel Popcorn
Author: Prep: 15 minutes Cook: 1 hour Total: 1 hour 35 minutesEquipment
- Large Roasting Pan or 2 Rimmed Baking Sheets
- Air Popper (or large pot for stovetop popping)
- Medium saucepan
- Parchment paper
Ingredients
The Popcorn Base
- 1/2 cup Unpopped popcorn kernels yields about 12-14 cups popped
- Remove any unpopped kernels before proceeding!
The Caramel Sauce
- 1 cup Unsalted butter 2 sticks
- 2 cups Light brown sugar packed
- 1/2 cup Light corn syrup
- 1 tsp Kosher salt
- 1/2 tsp Baking soda
- 1 tsp Vanilla extract
Instructions
- Pop the Corn: Pop your kernels using an air popper, stovetop method, or microwave. Pour the popped corn into a very large bowl (or two bowls). Crucial Step: Sift through with your hands and remove all unpopped kernels (your teeth will thank you later!).
- Preheat: Preheat your oven to 250°F (120°C). Line two large rimmed baking sheets (or a large roasting pan) with parchment paper.
- Melt the Base: In a medium saucepan over medium heat, combine the butter, brown sugar, corn syrup, and salt. Stir until the butter melts and the sugar dissolves.
- Boil: Bring the mixture to a boil. Once it starts boiling, stop stirring. Let it boil undisturbed for 5 minutes.
- The Science Step: Remove the pot from the heat. Carefully stir in the baking soda and vanilla extract. The mixture will foam up violently and turn a lighter color—this aerates the caramel for a lighter crunch!
- Coat: Immediately pour the foaming caramel over the popcorn in the large bowl. Use two spatulas to toss the popcorn gently until evenly coated. It will be sticky and clumpy—don’t worry!
- Spread: Pour the coated popcorn onto the prepared baking sheets. Spread it out as much as possible.
- Bake: Bake for 45 minutes to 1 hour.
- Stir: Every 15 minutes, take the pans out and give the popcorn a good stir. This redistributes the melting caramel and ensures every kernel gets coated.
- Cool: Remove from the oven and let the Caramel Popcorn cool completely on the pans. As it cools, the caramel will harden and become crispy. Break up any large clumps before serving
Notes
- Mushroom Kernels: If you can find “mushroom” popcorn kernels, use them! They pop into round balls that hold the heavy caramel coating better than standard butterfly popcorn.
- Humidity: Avoid making this on a rainy or humid day. Sugar absorbs moisture from the air, which can make your popcorn sticky instead of crisp.
- Add-Ins: Want nuts? Add 1 cup of raw peanuts or pecans to the bowl with the popcorn before pouring the caramel. They will roast in the oven alongside the corn.
- Cleanup: To clean the sticky caramel pot, fill it with water and boil it on the stove. The hot water dissolves the sugar instantly.
Nutrition


