
Let’s be honest with each other for a second. You didn’t click on this because you want a salad. You’re here because you crave that glorious, spherical, retro masterpiece known as the cheese ball. We all know the stereotype. People often associate the cheese ball with 1970s living rooms, shag carpet, and questionable fashion choices. But I’m here to tell you that the cheese ball is making a massive comeback, and frankly, it never should have left.
I have a serious soft spot for these cheesy orbs. At every family gathering, I bypass the fancy charcuterie board and head straight for the mound of cheddar and pecans. Why? Because it’s delicious, unpretentious, and fun to eat. It’s the ultimate comfort food centerpiece. If you want to win the holiday party—or just treat yourself on a Tuesday—you need to master the art of the cheese ball.
We are going to break down exactly how to construct the perfect cheese ball, why texture matters, and how to avoid the tragic mistakes that turn a festive sphere into a sad puddle. Grab some crackers, because this is going to make you hungry.
Why Cheese Balls Are the Unsung Heroes of the Party
Think about the last party you attended. The host likely spent hours arranging expensive meats and imported cheeses on a slate board. But where did everyone congregate? They hovered around the cheese ball. Nostalgia drives this obsession. We crave foods that remind us of simpler times, and nothing says “classic hospitality” quite like a seasoned block of cream cheese rolled in nuts.
Beyond the nostalgia, they serve a practical purpose. You can make them days in advance. In fact, you should make them in advance (more on that later). They transport easily. They feed a crowd for a fraction of the cost of a meat platter. And let’s get real: cheese, spices, and crunchy coatings just taste better together than almost anything else on the table.
Does it look a bit tacky? Maybe. Do we care? absolutely not. IMO, flavor beats aesthetics every time. Plus, you can actually make them look quite elegant if you ditch the neon-orange cheddar and go for fresh herbs or pomegranate seeds.
The Holy Trinity of Ingredients
You can’t just mash random dairy products together and hope for the best. You need structure. You need flavor balance. You need the Holy Trinity of cheese ball construction: The Base, The Flavor Profile, and The Outer Shell.
The Base: Cream Cheese is Queen
Let me set a hard rule right now: Use full-fat brick cream cheese. Do not use the whipped stuff in the tub. Do not use the low-fat version. The low-fat variety contains more water, and your ball will struggle to hold its shape. You want that density. You want that rich mouthfeel.
I usually start with two 8-ounce blocks of high-quality cream cheese. You must soften it to room temperature before you even look at your mixer. If you try to beat cold cream cheese, you will end up with lumpy sadness. I learned this the hard way years ago when I tried to rush a recipe for a New Year’s Eve bash. The result looked like cottage cheese with a bad attitude.
The Secondary Cheese
While cream cheese provides the structure, it needs a partner for flavor. Sharp Cheddar is the classic choice. I recommend grating your own cheese from a block. Pre-shredded cheese contains anti-caking agents (like potato starch) that prevent the cheese from blending smoothly. You want the cheese to meld into the mixture, not stand apart from it.
If you want to get fancy, you can swap cheddar for Gouda, Blue Cheese, or even a spicy Pepper Jack. Just ensure you chop or grate it finely. Large chunks will make the ball difficult to roll and awkward to eat.
The Flavor Boosters
Cream cheese on its own is bland. You need to punch it up. My go-to secret weapon? Worcestershire sauce. It adds that savory umami depth that makes people ask, “What is in this?” Garlic powder and onion powder are non-negotiable staples.
For a bit of kick, I always add a dash of hot sauce or cayenne pepper. You don’t want to burn anyone’s tongue, but the fat in the cheese cuts the heat, so you can be a little generous. Fresh green onions or chives also add a necessary bite and a pop of color to the inside of the mixture.
Step-by-Step: Constructing Your Orb of Glory
Making a cheese ball is deceptively simple, but technique matters. You aren’t just mixing ingredients; you are engineering a structural marvel.
Step 1: The Mix
Throw your softened cream cheese and your secondary cheese into a bowl. Use an electric mixer or a stand mixer to blend them until they look uniform. Add your spices, Worcestershire sauce, and any other mix-ins like bacon bits or dried fruit. Do not overmix. You want to combine the ingredients, not whip air into them. Too much air makes the ball soft and prone to collapsing.
Step 2: The Chill (Crucial Step!)
This is where most people fail. You cannot roll the ball immediately after mixing. The friction from the mixer warms the cheese, making it sticky and unmanageable. You need to gather the mixture into a rough lump, wrap it tightly in plastic wrap, and throw it in the fridge.
Leave it there for at least an hour. Seriously. Go watch an episode of your favorite show. If you skip this, you will end up with cheese all over your hands and a misshapen blob on the plate.
Step 3: The Roll
Once the mixture feels firm, take it out. Remove the plastic wrap. With clean hands (or oiled hands), smooth out the imperfections and shape it into a perfect sphere. This is actually quite satisfying. It’s like playing with edible Play-Doh.
Step 4: The Coating
Pour your coating of choice onto a shallow plate or a cutting board. Nuts are the traditional choice. Pecans or walnuts work best. Toast them first! Toasted nuts release oils that add a deeper flavor and a better crunch. Roll the cheese ball over the nuts, pressing gently so they adhere to the surface. You want total coverage. No bald spots allowed!
If you need more inspiration for party starters, check out some of my favorite easy appetizers that pair perfectly with this cheesy masterpiece.
Flavor Variations (Because Plain is Boring)
The classic cheddar-pecan combo is great, but why stop there? The cheese ball format is incredibly versatile. You can take this concept in a savory, spicy, or even sweet direction.
The “Bacon Ranch” Bomb
Everything tastes better with bacon. For this variation, I mix a packet of dry ranch seasoning into the cream cheese base. Then, instead of just nuts, I coat the entire outside in crispy bacon bits and cheddar cheese. It’s salty, savory, and completely addictive. Be warned: this one usually disappears first.
The “Holiday Jewel”
For a festive look, skip the nuts and use dried cranberries or pomegranate seeds. The bright red coating looks stunning on a holiday table. Inside, mix in some white cheddar and maybe a hint of rosemary. The sweetness of the fruit cuts through the richness of the cheese beautifully. It’s a sophisticated take on the classic. Speaking of the holidays, I have a whole list of holiday recipes that can help you plan the rest of your menu.
The Jalapeño Popper Ball
If you love heat, this one is for you. Mix diced fresh jalapeños (seeds removed, unless you’re brave) into the cream cheese along with crispy bacon and sharp cheddar. Roll the outside in crushed tortilla chips or panko breadcrumbs for a distinct texture. It tastes exactly like a jalapeño popper but requires zero frying.
The Dessert Ball
Who says cheese balls have to be savory? Switch out the savory spices for powdered sugar, brown sugar, and vanilla extract. Fold in mini chocolate chips. Roll the ball in crushed graham crackers or Oreo crumbs. Serve it with vanilla wafers or apple slices. It’s basically a deconstructed cheesecake that you can eat with your hands.
Common Mistakes to Avoid
I have seen many good cheese balls go bad. Avoid these pitfalls to ensure your reputation as the Cheese Ball Monarch remains intact.
- Using huge nut chunks: If you use nuts for the coating, chop them finely. Large nut halves will fall off when people try to scoop the cheese, leaving a mess on the table.
- Serving it ice cold: While you need to chill the ball to shape it, you should let it sit out for about 20 minutes before serving. If it’s rock hard, your guests will break their crackers trying to get a scoop. Nobody likes a broken cracker tragedy. :/
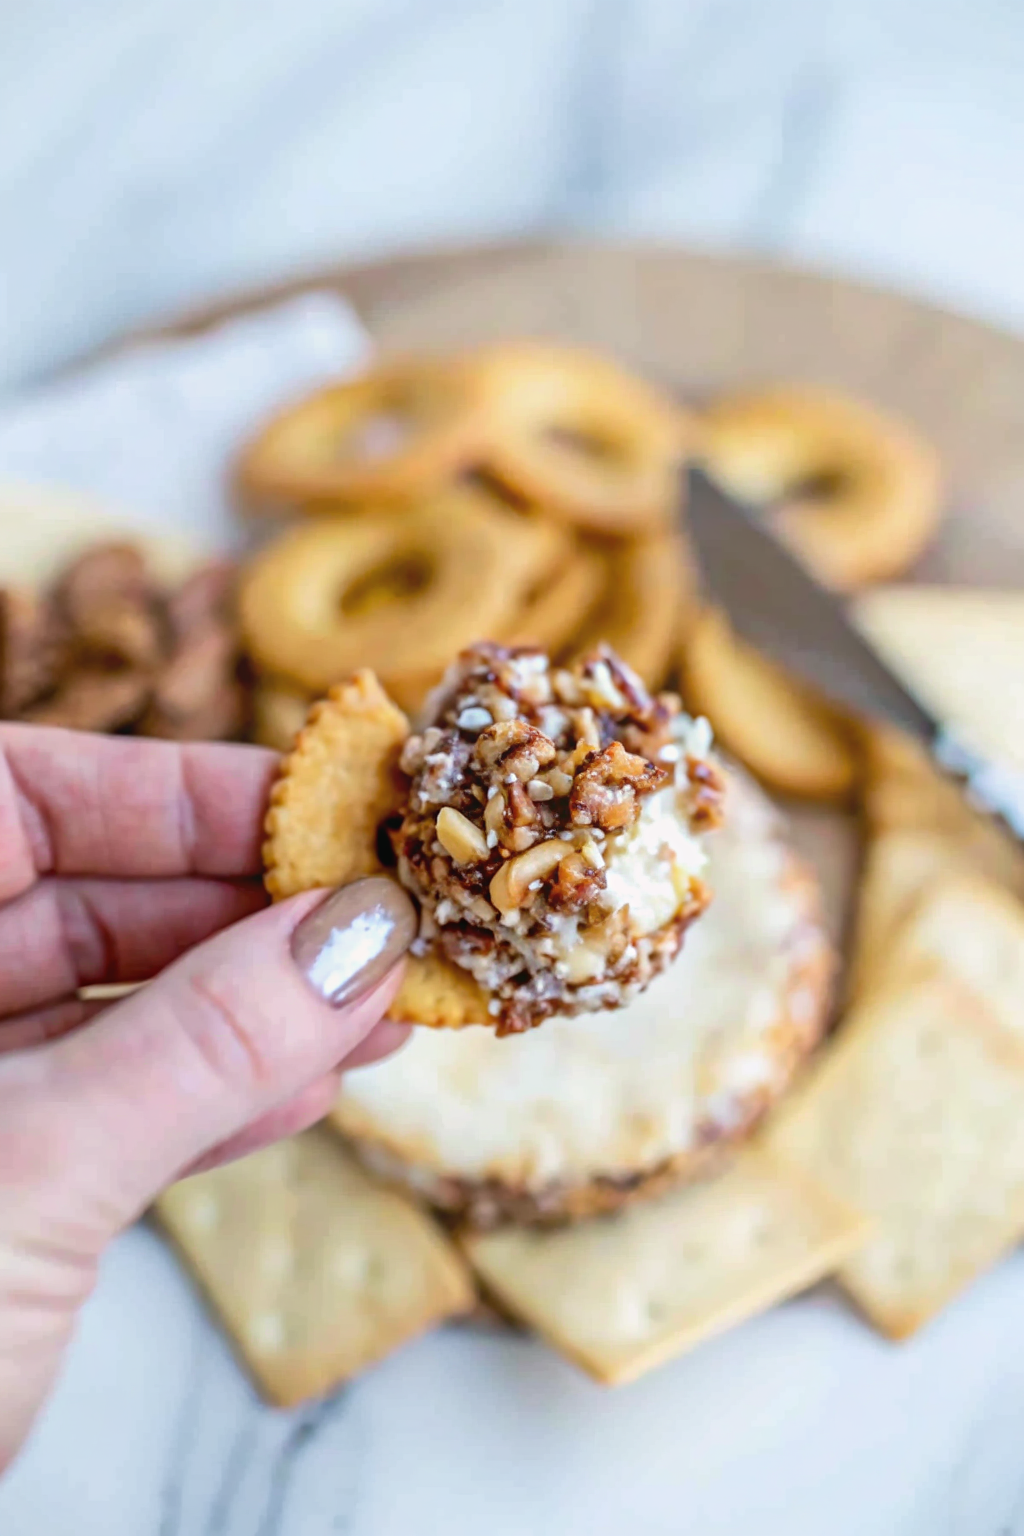
- Ignoring the dippers: The cheese ball is only half the equation. You need sturdy vehicles to get that cheese into your mouth. Flimsy chips will shatter. Use sturdy crackers, pita chips, or celery sticks.
For those of you who prefer a scoop-able consistency without the rolling, you might want to look into cream cheese dip alternatives, but honestly, the ball is just more fun.
The Science of the “Cure”
Here is a little secret that separates the amateurs from the pros: The cheese ball tastes better on day two. When you mix garlic, onion, and spices into fat (the cheese), it takes time for those flavor compounds to distribute.
According to food science experts, fat molecules trap aroma compounds and release them slowly. If you eat the mixture immediately, you taste the individual ingredients. If you let it sit in the fridge for 24 hours, the flavors meld into a cohesive, tangy, savory profile. So, do your future self a favor and prep this the day before the party.
Serving Suggestions and Presentation
You made the ball. It looks great. Now, how do you serve it?
Don’t just plop it on a paper plate. Place it on a wooden board or a nice ceramic platter. Surround it with a variety of textures. I like to use a mix of buttery round crackers, whole grain woven crackers, and perhaps some pretzel crisps.
Adding color to the board helps too. Grapes, apple slices, or dried apricots fill in the gaps and make the spread look bountiful. You also need a spreader knife. While I admire the enthusiasm of someone digging in with a cracker, the first person to break a cracker inside the ball ruins the structural integrity for everyone else. Provide a knife. It’s the civilized thing to do.
Frequently Asked Questions (That I Just Made Up)
Can I freeze a cheese ball?
Technically, yes. But I wouldn’t recommend it. Freezing changes the texture of cream cheese, making it crumbly and sometimes watery upon thawing. Since they last for nearly a week in the fridge, just keep it fresh.
My cheese ball is too soft. What did I do?
You probably used low-fat cheese, didn’t chill it long enough, or added too many wet ingredients (like salsa or pickles) without draining them. If it’s a total disaster, put it in a bowl and call it a “dip.” No one has to know.
Is it healthy?
Let’s not ask questions we don’t want the answers to. It’s cheese and nuts. It’s good for the soul, and that’s what counts.
Final Thoughts: Embrace the Sphere
The cheese ball represents everything I love about food. It brings people together, it invites conversation, and it doesn’t take itself too seriously. It’s a humble giant of the appetizer world.
So, the next time you need to bring a dish to a potluck, resist the urge to make something complicated and trendy. Go back to basics. Buy the brick cream cheese. Toast the pecans. Roll up your sleeves and create a beautiful, delicious sphere of joy.
Just make sure you save a piece for yourself before the guests arrive. I guarantee you, once you set it down, it will vanish within the hour. And FYI, licking the mixing bowl is the chef’s exclusive privilege.
For more on the history of this party staple and why dairy works the way it does, check out this fascinating read from Serious Eats.
Now, go forth and roll!
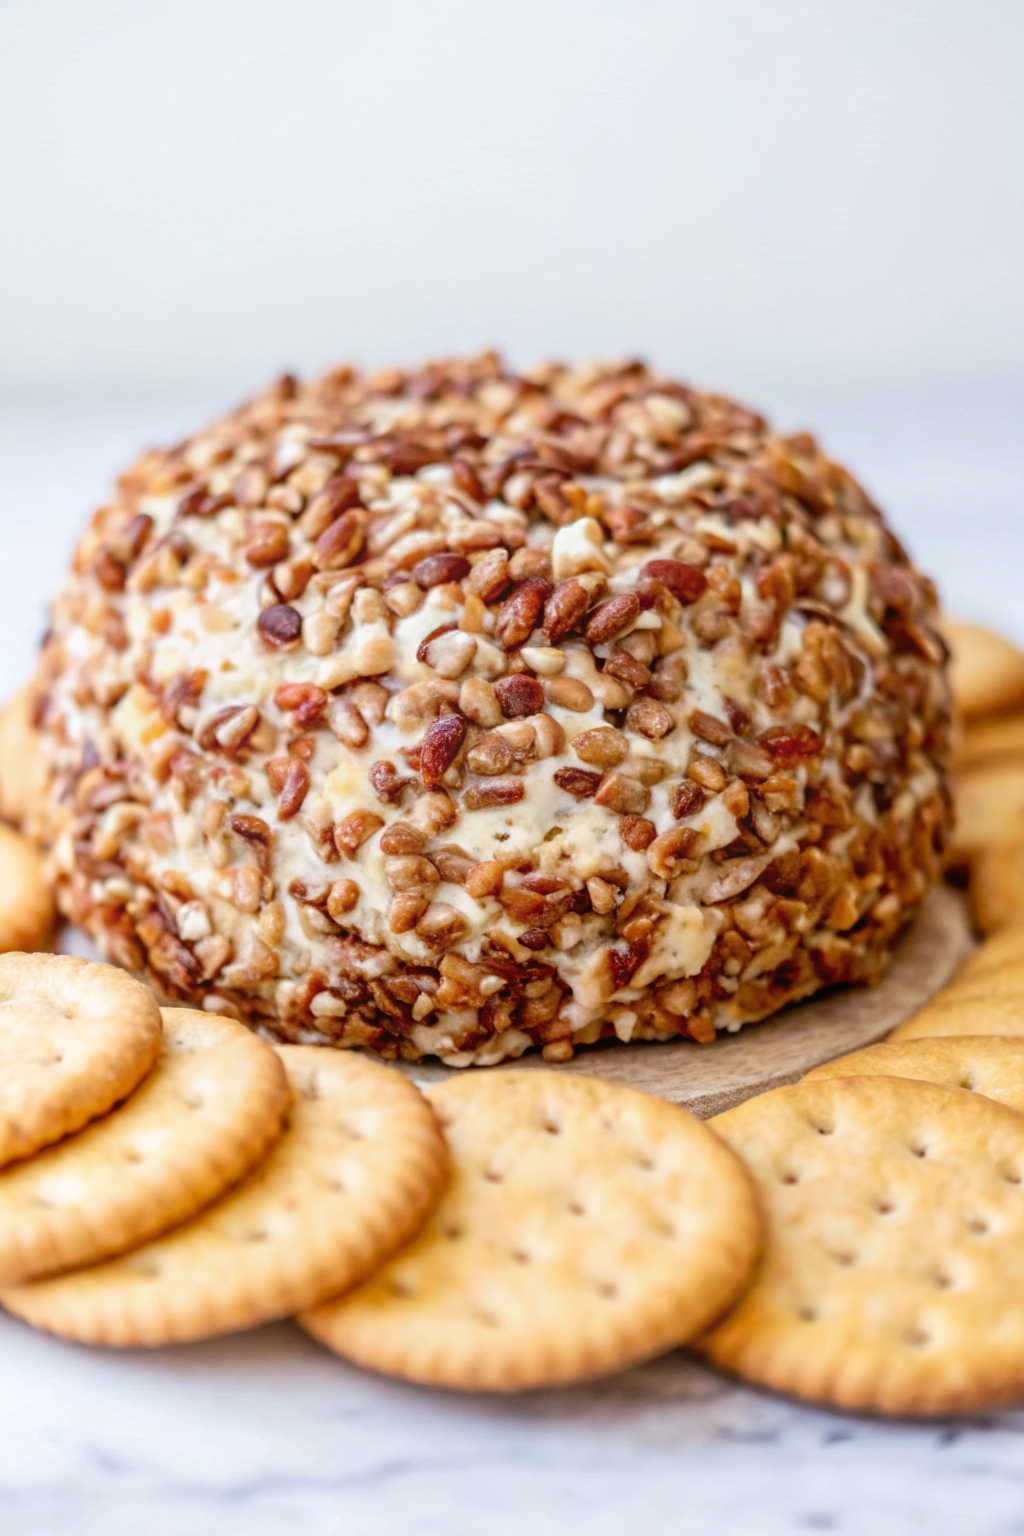
The Ultimate Classic Cheese Ball
Author: Prep: 15 minutes Cook: 1 hour Total: 1 hour 15 minutesEquipment
- Electric hand mixer (or stand mixer)
- Large mixing bowl
- Plastic Wrap (Cling Film)
- Box Grater
- Serving Board
Ingredients
The Cheese Base:
- 16 oz 2 blocks full-fat cream cheese, softened to room temperature
- 2 cups sharp cheddar cheese freshly grated (do not use pre-shredded)
- ¼ cup green onions finely chopped
- 1 tbsp Worcestershire sauce
- 1 tsp garlic powder
- 1 tsp onion powder
- ½ tsp hot sauce or a pinch of cayenne pepper optional, for a little kick
- ¼ tsp salt adjust to taste
- ¼ tsp black pepper
The Coating:
- 1 cup pecans or walnuts toasted and finely chopped
Instructions
- Prep the Cheese: Before you start, ensure your cream cheese is completely soft. Leave it on the counter for at least 30-60 minutes. This prevents lumps and ensures a smooth texture.
- Mix the Base: In a large mixing bowl, beat the softened cream cheese until smooth using a hand mixer. Add the freshly grated sharp cheddar, green onions, Worcestershire sauce, garlic powder, onion powder, hot sauce, salt, and pepper.
- Combine: Mix on low speed just until the ingredients are fully combined. Avoid overmixing, as you want to keep the mixture dense, not airy.
- Chill the Mixture: Scrape the cheese mixture into a rough pile in the center of the bowl. Cover tightly with plastic wrap or transfer to a sheet of plastic wrap and form a rough ball. Refrigerate for at least 1 hour (or overnight) to let the cheese firm up.
- Shape the Ball: Once firm, remove the mixture from the fridge. Unwrap it and use your hands (oiling them slightly helps) to roll the mixture into a smooth, perfect sphere.
- Coat It: Spread the chopped, toasted pecans onto a flat plate or cutting board. Roll the cheese ball over the nuts, pressing gently to ensure the entire surface is covered.
- Serve: If you have time, wrap it back up and chill for another 30 minutes to set the coating. Remove from the fridge about 20 minutes before serving to make it spreadable. Serve with crackers and enjoy!
Notes
- Grate Your Own Cheese: Pre-shredded cheese contains anti-caking agents that prevent it from blending smoothly. For the best texture, grab a block of sharp cheddar and grate it yourself.
- Toast the Nuts: Don’t skip this step! Toasting the pecans in a dry pan for 2-3 minutes releases their oils and makes them significantly crunchier and more flavorful.
- Make Ahead: You can make the cheese mixture up to 3 days in advance. Just store it wrapped tightly in the fridge and add the nut coating right before you plan to serve it to keep them crunchy.
- Variations: Not a fan of nuts? coat the cheese ball in crispy bacon bits, chopped fresh parsley, or even Everything Bagel seasoning.
Nutrition


